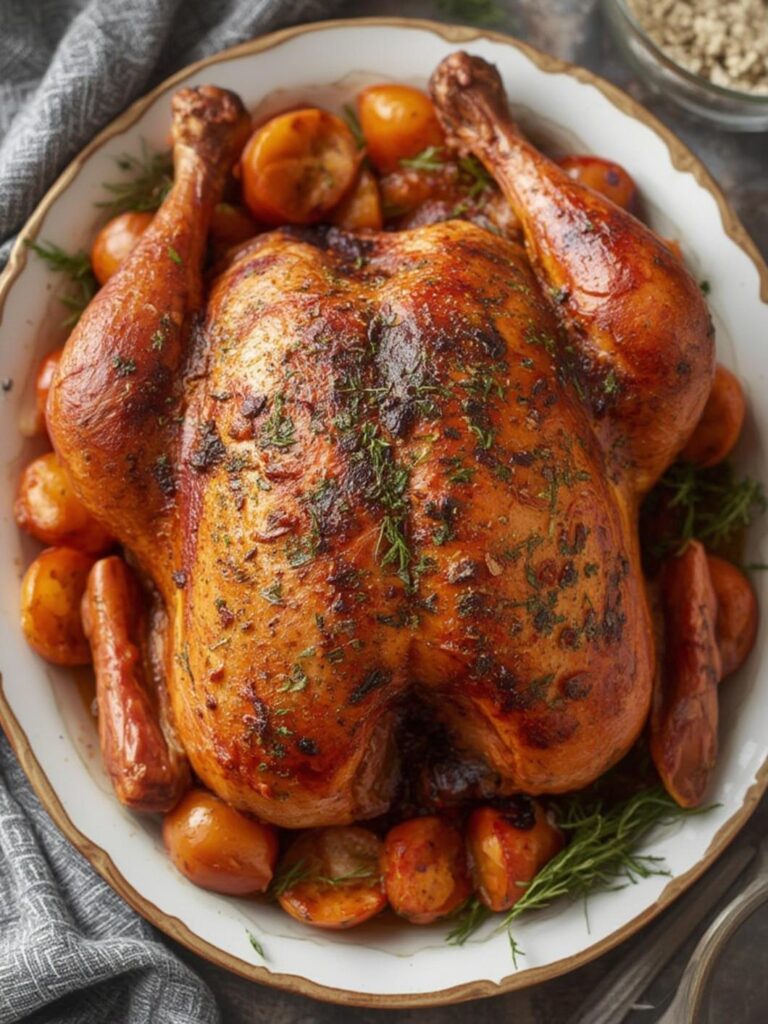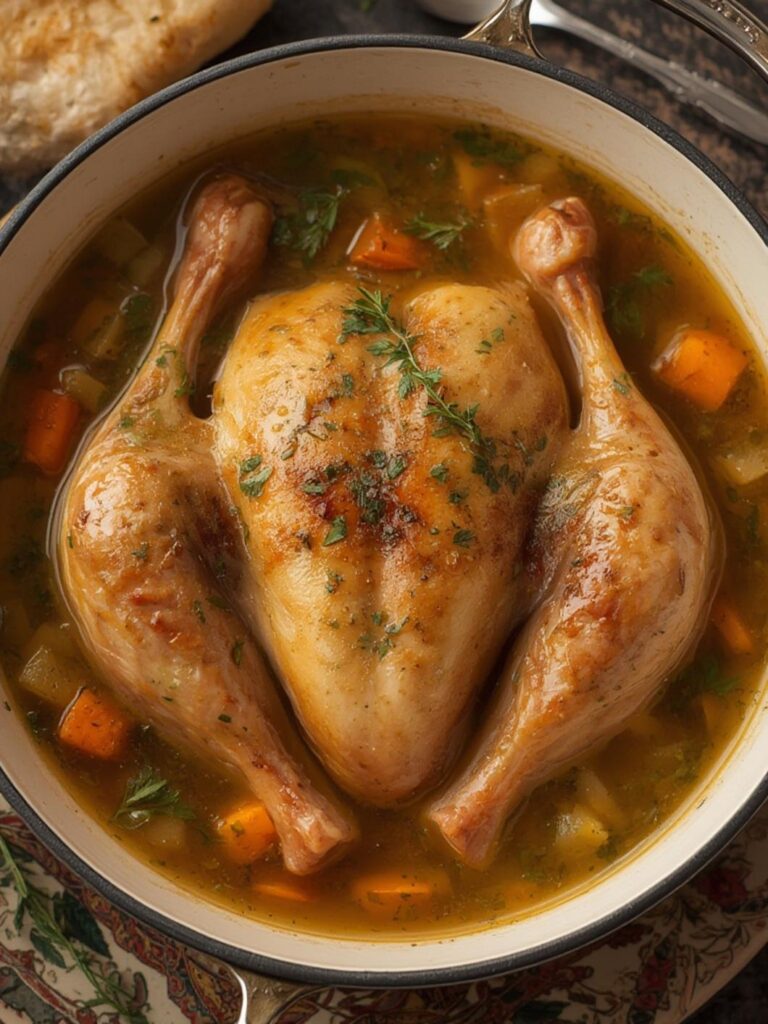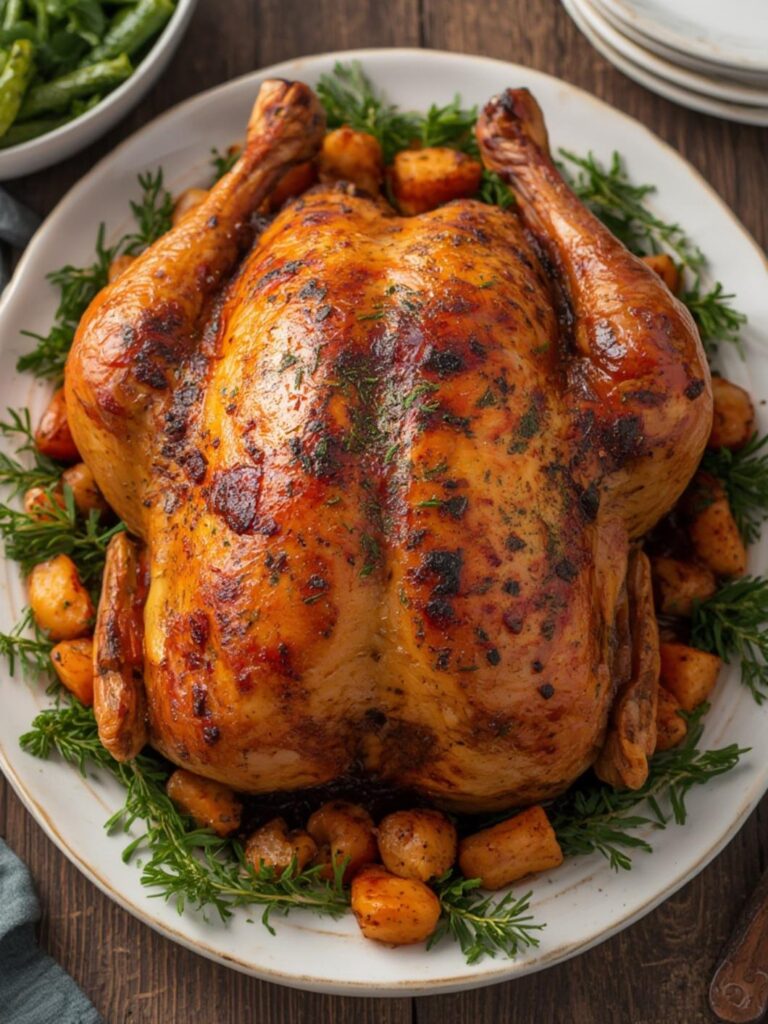
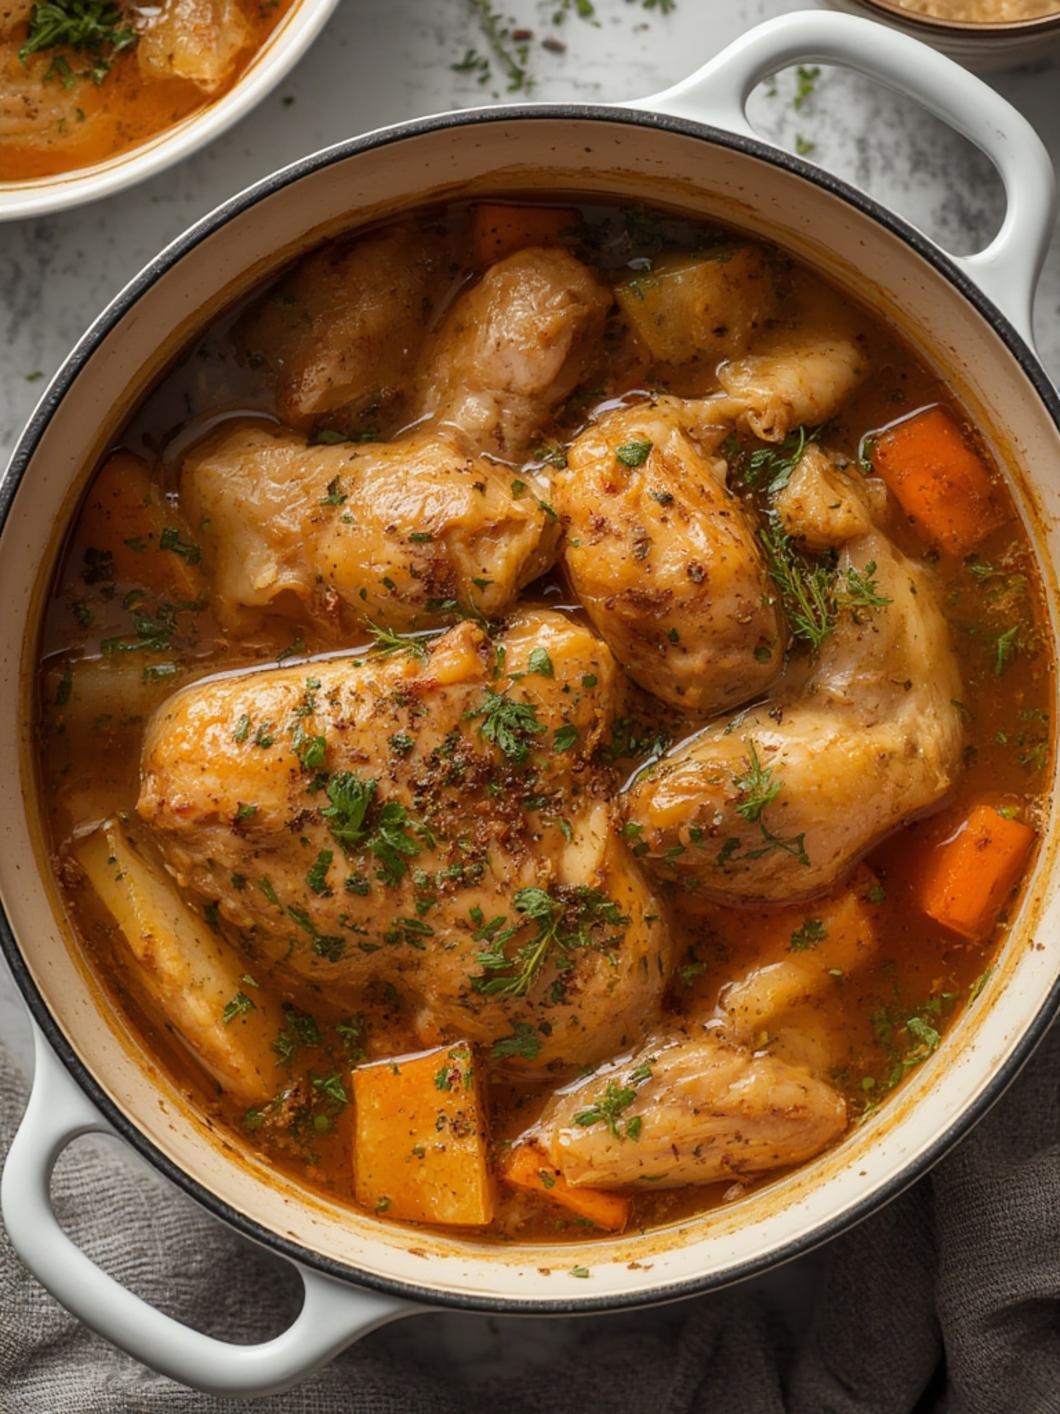
Quick way to make 3-Hour turkey stock recipe
Table of Contents
How to Make Rich and Flavorful Homemade Turkey Stock
Have you ever wondered what to do with your leftover turkey bones after a holiday feast? Making your own homemade turkey stock recipe is not only economical but also delivers flavors that store-bought versions simply can’t match. The rich, gelatinous goodness of turkey carcass stock creates the perfect foundation for countless soups, gravies, and sauces. Let’s explore how to transform those leftover bones into liquid gold for your kitchen!
Thank you for reading this post, don't forget to subscribe!Ingredients List
– 1 leftover turkey carcass (bones, skin, and any remaining meat scraps)
– 2 large onions, quartered (no need to peel)
– 3 carrots, roughly chopped
– 3 celery stalks with leaves, roughly chopped
– 6-8 garlic cloves, smashed
– 2 bay leaves
– 1 tablespoon black peppercorns
– 6-8 sprigs fresh thyme
– 6-8 sprigs fresh parsley
– 1 tablespoon apple cider vinegar (helps extract minerals from bones)
– Cold water (enough to cover ingredients by 1 inch)
– Optional: 1 tablespoon salt
Timing / Cooking Schedule
– Prep Time: 15 minutes
– Initial Boil: 30 minutes
– Simmering Time: 3-4 hours minimum (up to 8 hours for deeper flavor)
– Straining and Cooling: 30 minutes
– Total Time: Approximately 4-5 hours (active time less than 1 hour)
Step-by-Step Instructions
1. Break down the carcass: Cut or break your turkey carcass stock into smaller pieces to fit comfortably in your stockpot. This increases surface area for better flavor extraction.
2. Brown the bones (optional): For a deeper flavor, roast the carcass pieces in a 400°F oven for 20-30 minutes until golden brown.
3. Combine ingredients: Place the carcass pieces in a large stockpot with all vegetables, herbs, peppercorns, and apple cider vinegar.
4. Add cold water: Starting with cold water is crucial as it helps extract more collagen and flavor from the bones as it gradually heats up.
5. Initial boil and skim: Bring to a boil, then immediately reduce to a gentle simmer. Skim off any foam or impurities that rise to the surface.
6. Low and slow cooking: Keep at a bare simmer for at least 3-4 hours. Never allow a rapid boil, as this can make your turkey stock recipe cloudy.
7. Strain thoroughly: Line a colander with cheesecloth and strain the stock into another large pot or bowl.
8. Cool properly: Allow the stock to cool at room temperature for no more than 1 hour before refrigerating.
Nutritional Benefits / Advantages
This homemade turkey stock is incredibly nutritious, containing:
– High levels of protein (approximately 5g per cup)
– Rich in collagen and minerals like calcium, magnesium, and phosphorus
– Natural electrolytes from vegetables and bones
– Low in calories (40-60 calories per cup)
– Contains no artificial preservatives or excessive sodium unlike commercial versions
– Packed with amino acids that support gut health and immunity
Tips, Alternative Methods, or Cooking Advice
– Pressure cooker method: Use an Instant Pot or pressure cooker to reduce cooking time to 60-90 minutes on high pressure.
– Slow cooker option: Cook on low for 10-12 hours for hands-off preparation.
– Roasted vegetable variation: Roast the vegetables alongside the bones for a deeper, caramelized flavor.
– Herb customization: Experiment with different herb combinations like rosemary or sage for varied flavor profiles.
– Concentrated stock: Simmer longer after straining to reduce volume for a more concentrated stock that takes up less freezer space.
Common Mistakes to Avoid
1. Boiling instead of simmering: A rapid boil creates cloudy stock and prevents proper flavor extraction.
2. Not skimming the surface: Failing to remove impurities can result in an off-flavor.
3. Adding salt too early: Season only after reduction to prevent over-salting.
4. Using too little water: Ensure bones are fully submerged throughout cooking.
5. Rushing the process: Quality stock requires time for collagen and flavor extraction.
Storage / Maintenance Tips
– Refrigerate cooled stock in airtight containers for up to 5 days.
– Freeze in ice cube trays or 1-cup portions for convenient use in recipes.
– For long-term storage, freeze in freezer-safe containers or bags for up to 6 months.
– The fat cap that forms on refrigerated stock can protect it; remove before using or reheating.
– Bring frozen stock to a full boil before using in recipes.
Conclusion
Making your own turkey stock recipe at home is a rewarding process that transforms kitchen scraps into culinary gold. The rich, complex flavors of homemade turkey carcass stock will elevate any dish it touches, from simple soups to elaborate sauces. Why not make this sustainable cooking practice part of your post-holiday tradition? Your taste buds, wallet, and the environment will thank you! Share your stock-making experience in the comments below or explore our related recipes for inspiration.
FAQs
Can I use a smoked turkey carcass for stock?
Yes, but be aware it will impart a smoky flavor to your stock. This works well for specific recipes but may not be as versatile as regular turkey stock.
My stock didn’t gel after refrigeration. Did I do something wrong?
Not necessarily. Gelling depends on the collagen content of your bones. Try adding more joint bones or feet next time, and ensure you’re using enough apple cider vinegar to extract collagen.
Can I add other vegetable scraps to my turkey stock?
Absolutely! Save vegetable scraps like leek tops, mushroom stems, and parsley stems. Avoid strongly flavored vegetables like broccoli or cabbage which can overpower the stock.
How can I make my turkey stock less fatty?
Refrigerate the finished stock overnight, then scrape off the solidified fat layer before using. Alternatively, use a fat separator while the stock is still warm.
Why is my homemade stock darker/lighter than store-bought?
Homemade stock color varies based on roasting time, vegetable content, and cooking duration. Store-bought stocks often contain caramel color or other additives to achieve consistent appearance.