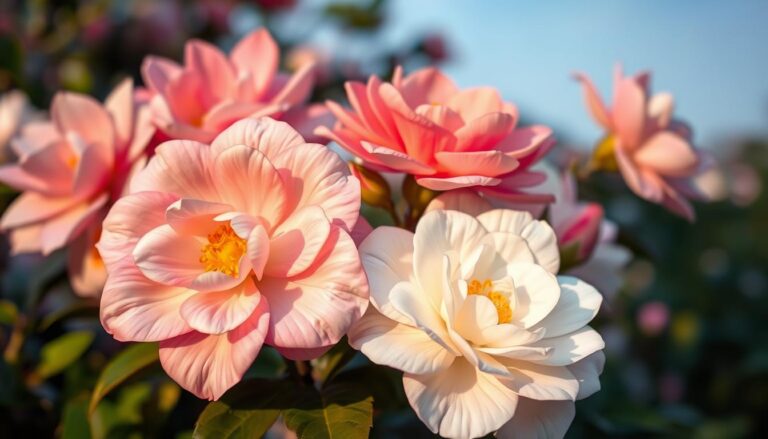
Proven way to make camellia sasanqua grow in 4 weeks
Table of Contents
How to Grow and Care for Camellia Sasanqua: A Complete Guide
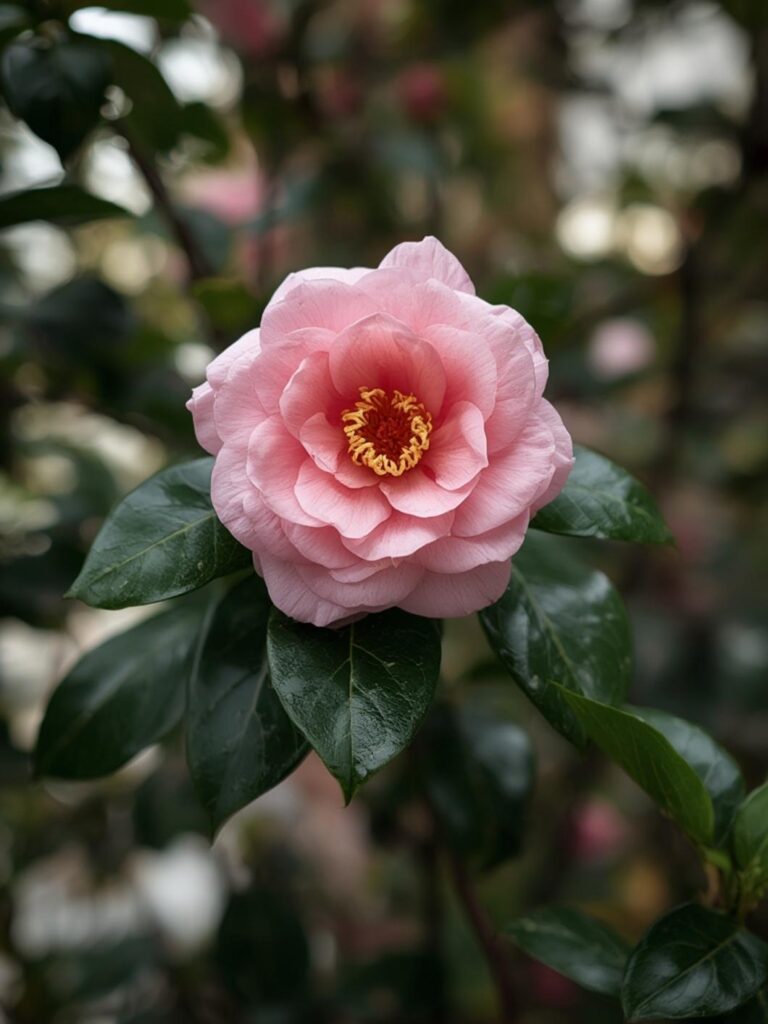
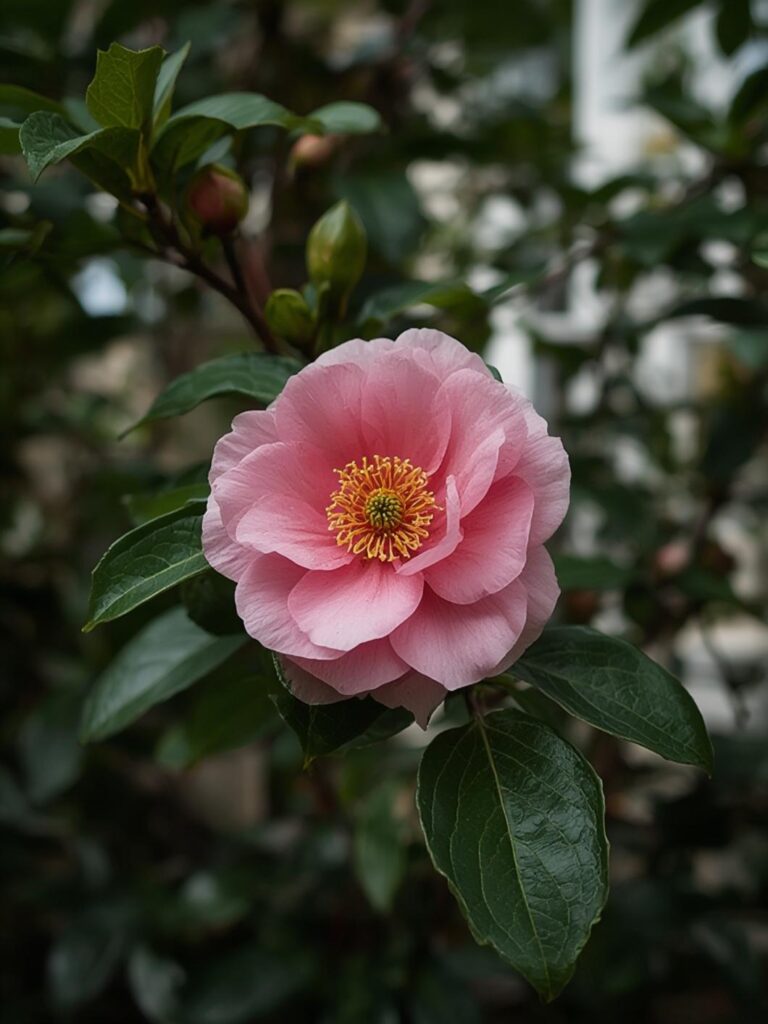
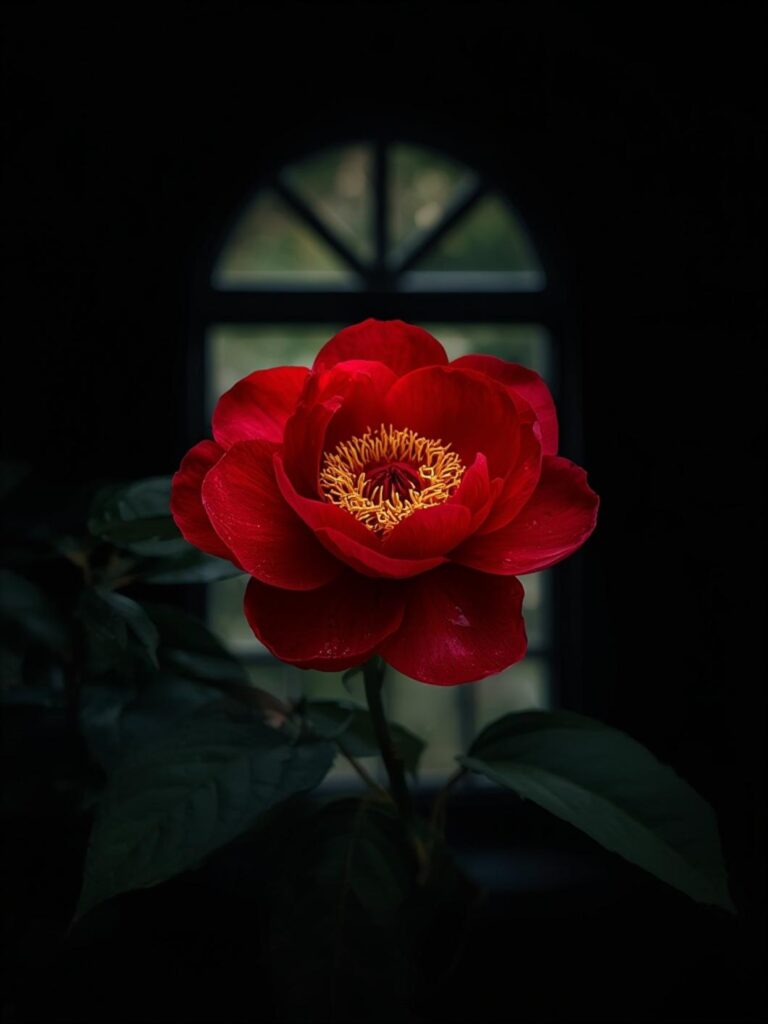
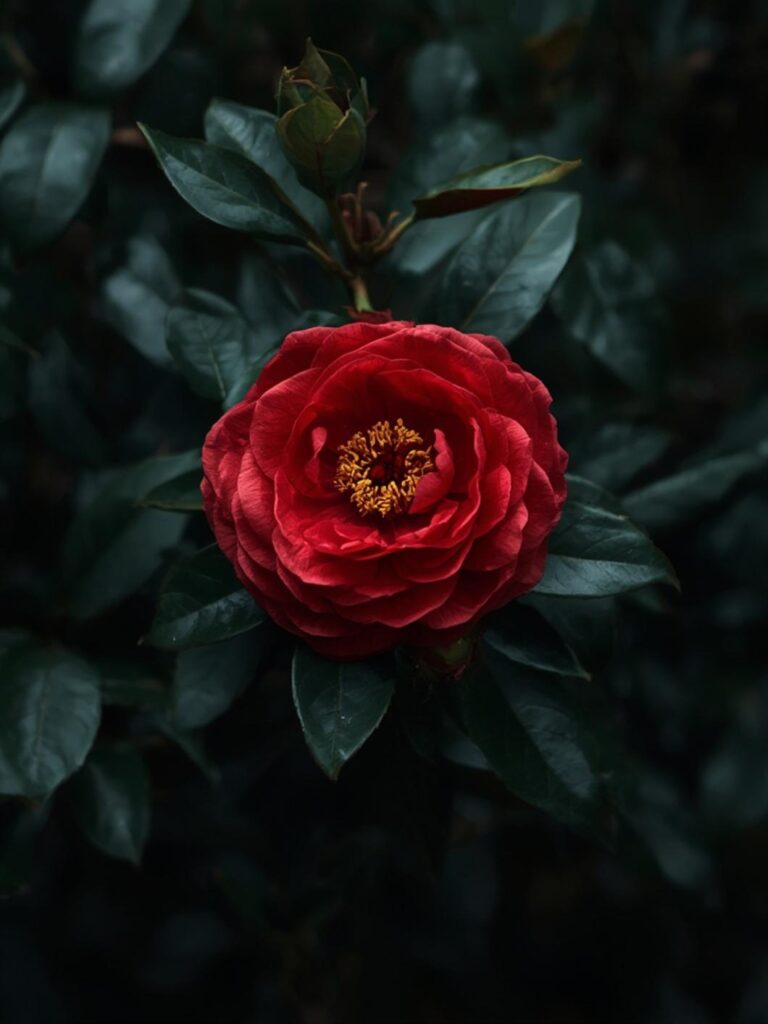
Have you ever admired the elegant blooms of camellia sasanqua and wished you could grow this stunning evergreen shrub in your own garden? With their glossy foliage and exquisite flowers that bloom when most other plants have gone dormant, these winter-flowering beauties can transform any landscape. The diverse camellia sasanqua varieties offer something for every gardener, from compact forms perfect for containers to larger specimens that create impressive hedges or focal points. Growing camellias at home provides months of color during the coldest season while requiring relatively little maintenance once established.
Thank you for reading this post, don't forget to subscribe!Materials & Supplies
To successfully grow camellia sasanquas, you’ll need:
- Acidic potting soil or garden soil (pH 5.5-6.5)
- Organic matter like compost or peat moss for soil amendment
- Young camellia plant or rooted cutting
- Garden shovel and pruning shears
- Slow-release acidic fertilizer formulated for camellias or azaleas
- Mulch (pine bark or needles work well)
- Watering can or hose with gentle spray attachment
- Optional: Soil pH testing kit
- Optional: Container with drainage holes (for container growing)
- Optional: Shade cloth for young plants in hot climates
Timing / Growing Schedule
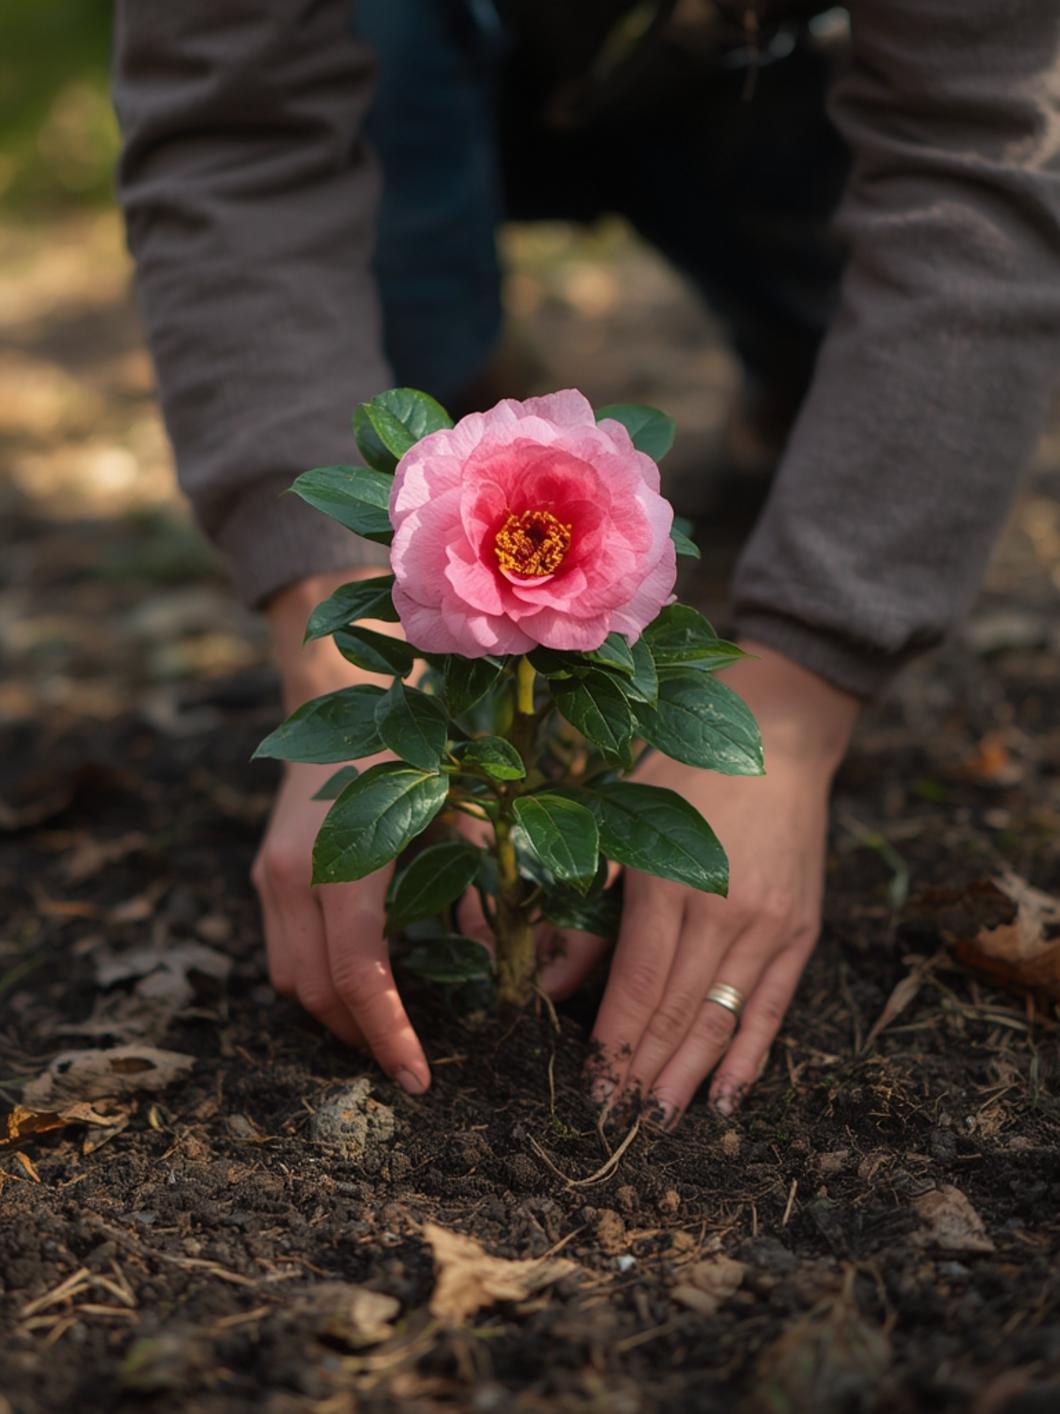
The ideal planting time for camellia sasanquas is fall or early spring when temperatures are mild. This gives roots time to establish before extreme weather conditions. Unlike their spring-flowering cousins (Camellia japonica), sasanquas typically bloom from October through December in the Northern Hemisphere, making them perfect for winter interest.
- Planting: Fall or early spring
- Growth rate: Slow to moderate (6-12 inches per year)
- Time to maturity: 3-5 years for significant flowering
- Flowering period: 4-8 weeks during late fall to early winter
- Pruning time: After flowering ends and before new growth begins
Step-by-Step Instructions
1. Select the perfect location: Choose a spot with filtered sunlight or morning sun and afternoon shade. Camellia sasanqua tolerates more sun than other camellia types but still appreciates protection from harsh afternoon rays. Ensure the location has good air circulation while providing shelter from strong winds.
2. Prepare the soil: Test soil pH to ensure it’s acidic (5.5-6.5). Amend heavy clay soils with organic matter to improve drainage, as camellia sasanqua varieties hate wet feet. Dig a hole twice as wide as the root ball but only as deep.
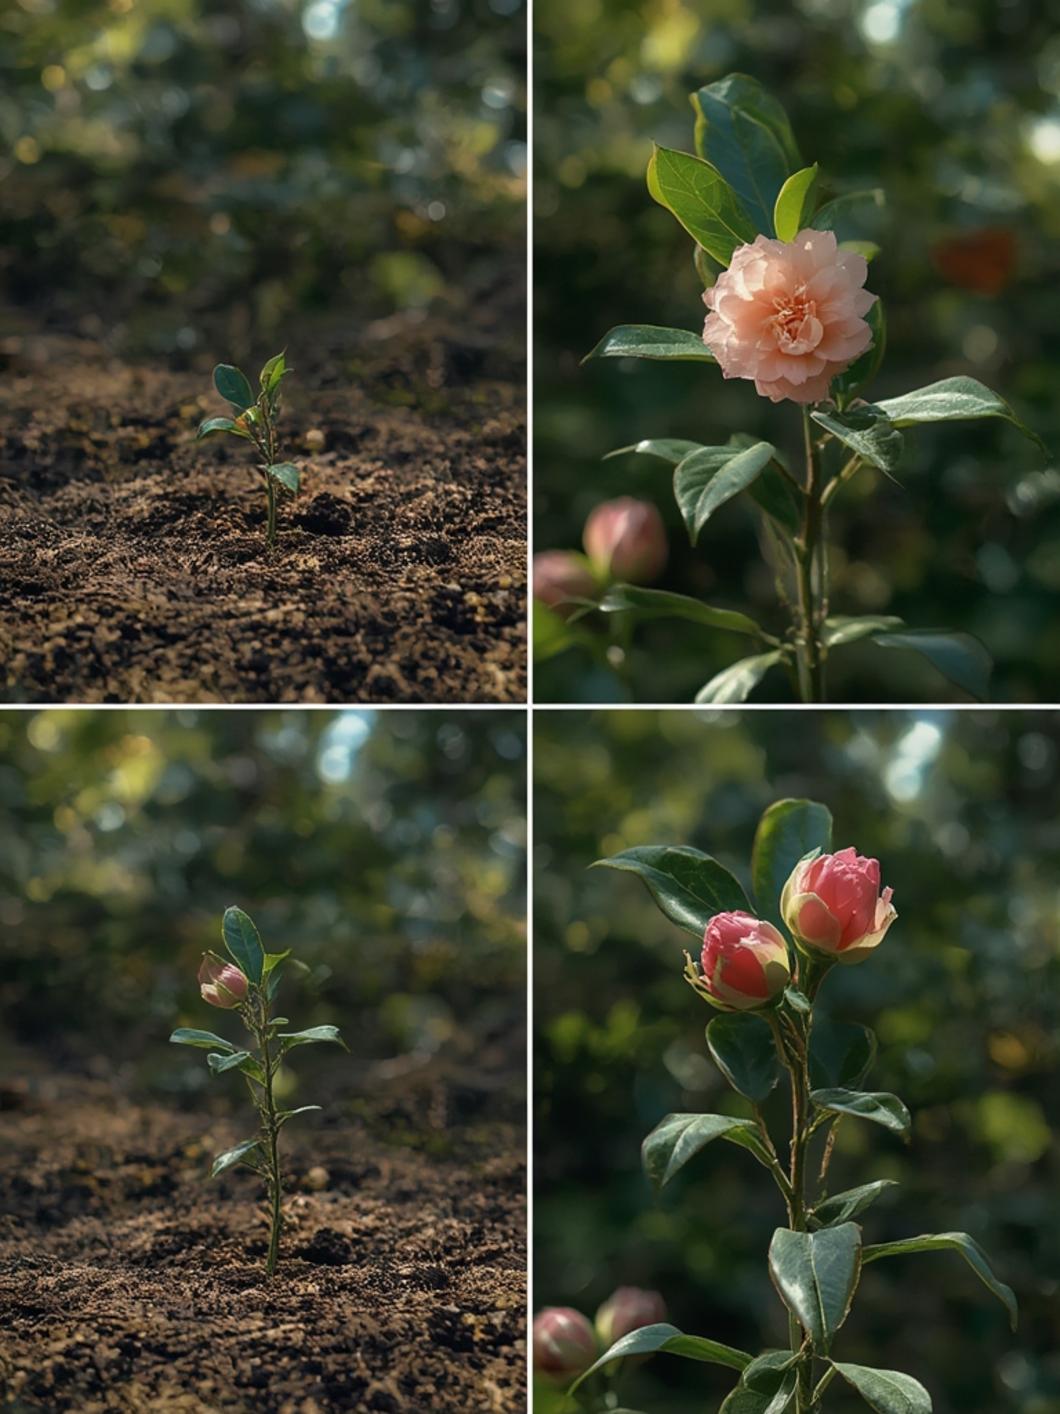
3. Plant properly: Remove the plant from its container, gently loosen the roots, and place it in the hole with the top of the root ball slightly above soil level. Backfill with amended soil, creating a slight basin for water collection.
4. Mulch generously: Apply 2-3 inches of mulch around the plant, keeping it a few inches away from the stem to prevent rot. Pine straw or bark work exceptionally well as they help maintain soil acidity.
5. Water consistently: Keep newly planted camellias well-watered for the first year. Aim for deep, infrequent watering rather than frequent light sprinkling to encourage deep root growth.
Nutritional Benefits / Advantages
While primarily grown for ornamental purposes, camellia sasanquas offer numerous benefits:
- Year-round visual interest with glossy evergreen foliage
- Flowers during winter months when gardens typically lack color
- Supports pollinators during late season when food sources are scarce
- Some varieties produce seeds that attract birds
- Excellent carbon sequestration as long-lived woody plants
- Leaves contain compounds being studied for potential health applications
- Can increase property value as mature specimen plants
Tips, Alternative Methods, or Gardening Advice
- Container growing: Select compact varieties for pots at least 18 inches in diameter with good drainage. Use acidic potting mix specifically formulated for camellias or azaleas.
- Espalier method: Train against a wall or fence to save space while creating a stunning flowering display.
- Companion planting: Pair with other acid-loving plants like azaleas, rhododendrons, and ferns for a cohesive woodland garden.
- Propagation: Take semi-hardwood cuttings in late summer for an economical way to increase your collection.
- Regional considerations: In colder zones, plant near structures for added protection or choose the most cold-hardy varieties.
Common Mistakes to Avoid
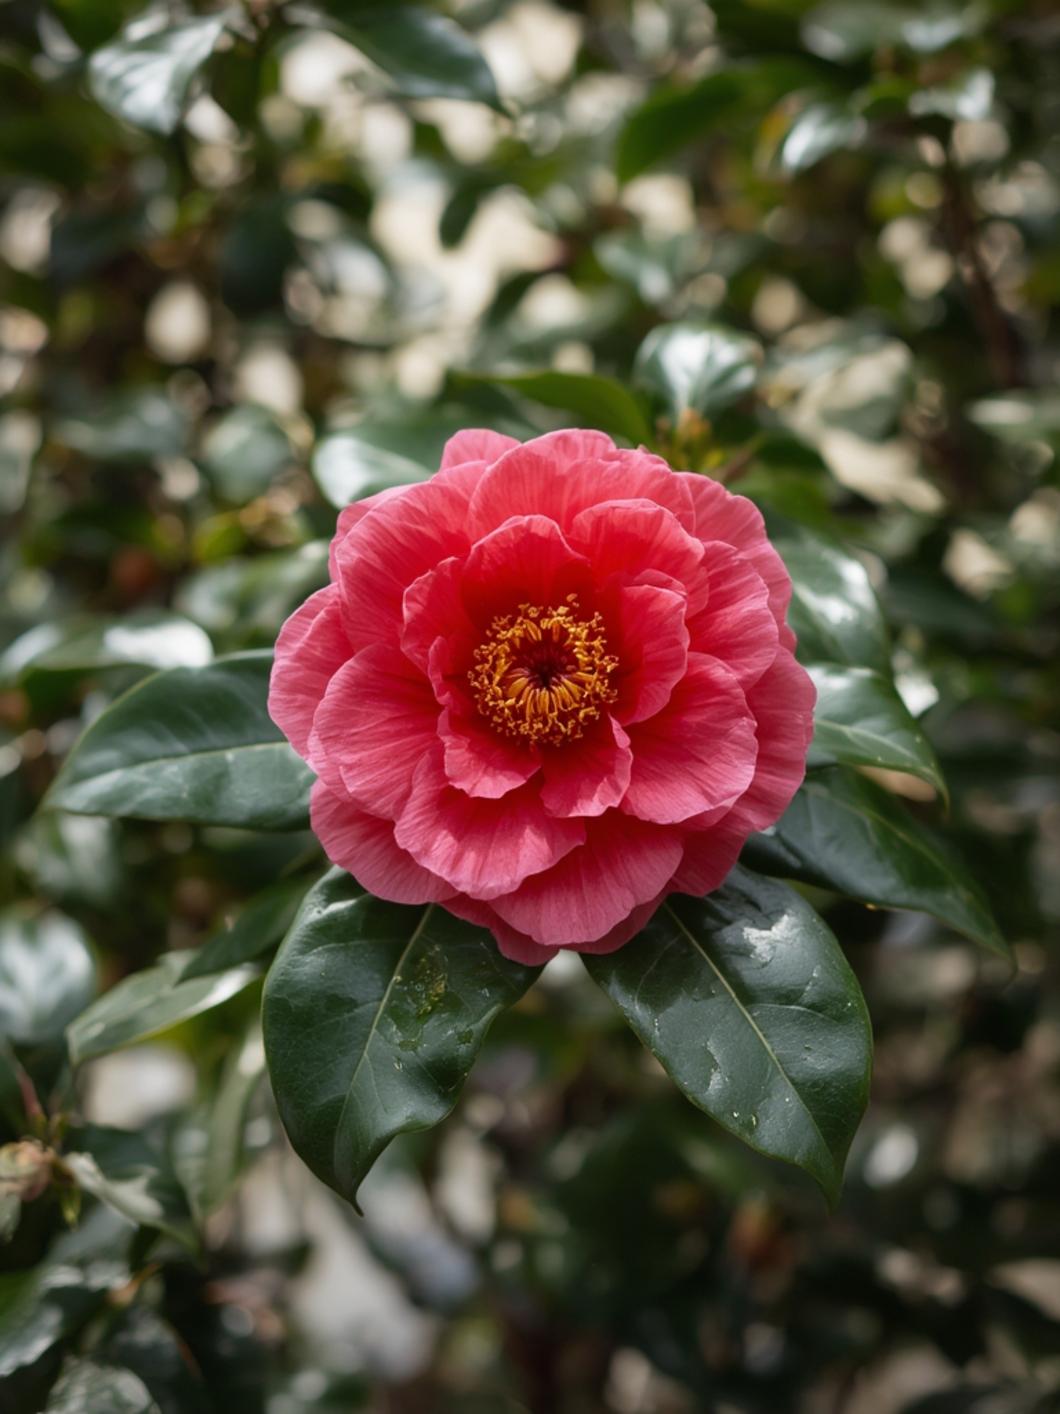
1. Planting too deeply: This common error leads to poor growth and potential rot. Always plant with the root flare visible above soil level.
2. Overwatering: While consistent moisture is important, saturated soil leads to root rot. Ensure excellent drainage and allow the top inch of soil to dry between waterings.
3. Improper pruning timing: Pruning after new growth has started can remove next season’s flower buds. Prune immediately after flowering concludes.
4. Using alkaline mulch: Avoid limestone-based or wood ash mulches which can raise soil pH beyond the acidic range camellias prefer.
5. Ignoring soil pH: Yellowing leaves often indicate chlorosis from alkaline soil conditions. Test soil regularly and amend with sulfur if needed.
Storage / Maintenance Tips
- Fertilization: Apply slow-release, acid-forming fertilizer specifically for camellias in spring after flowering. Avoid fertilizing after mid-summer.
- Watering regime: Once established, water deeply during extended dry periods. Consistent moisture is particularly important during bud formation.
- Pruning: Light shaping can be done after flowering. Remove dead or crossing branches to improve air circulation.
- Pest management: Monitor for tea scale, spider mites, and aphids. Treat with horticultural oil during dormant periods if necessary.
- Winter protection: In marginal zones, cover root zones with extra mulch and consider anti-desiccant sprays for foliage protection.
Conclusion
Growing camellia sasanqua rewards gardeners with spectacular winter blooms and year-round structure when other garden plants are dormant. By following the guidelines in this article and selecting from the many beautiful camellia sasanqua varieties available, you’ll create a stunning landscape feature that improves with age. Whether you’re a seasoned gardener or a beginner, these versatile shrubs deserve a place in your garden. Why not start planning your camellia garden today? Share your camellia growing experiences in the comments below or explore our other articles on acid-loving ornamental plants!
FAQs
How long do camellia sasanqua plants live?
With proper care, camellias can live for decades, with many specimens surviving 50-100 years or more, making them excellent legacy plants for your landscape.
Can I grow camellia sasanqua in cold climates?
Most sasanqua varieties are hardy in USDA zones 7-9, though some cultivars can tolerate zone 6 with protection. In colder areas, consider growing in containers that can be moved to sheltered locations during extreme cold.
Why are the buds on my camellia dropping before opening?
Bud drop is often caused by dramatic temperature fluctuations, drought stress, or excessive moisture. Consistent watering and planting in locations protected from harsh winter winds can help prevent this issue.
How do I propagate camellia sasanqua plants?
Semi-hardwood cuttings taken in late summer provide the best success rate. Use rooting hormone, maintain high humidity, and be patient as they can take 2-3 months to root properly.
When should I transplant an established camellia sasanqua?
The best time to transplant is late fall or winter during dormancy. Prepare the new site before digging up the plant, and take as much of the root ball as practical. Water consistently after transplanting.