Proven Way to Make Red Camellia Thrive: 5 Tips
Table of Contents
How to Grow a Stunning Red Camellia at Home: A Complete Guide
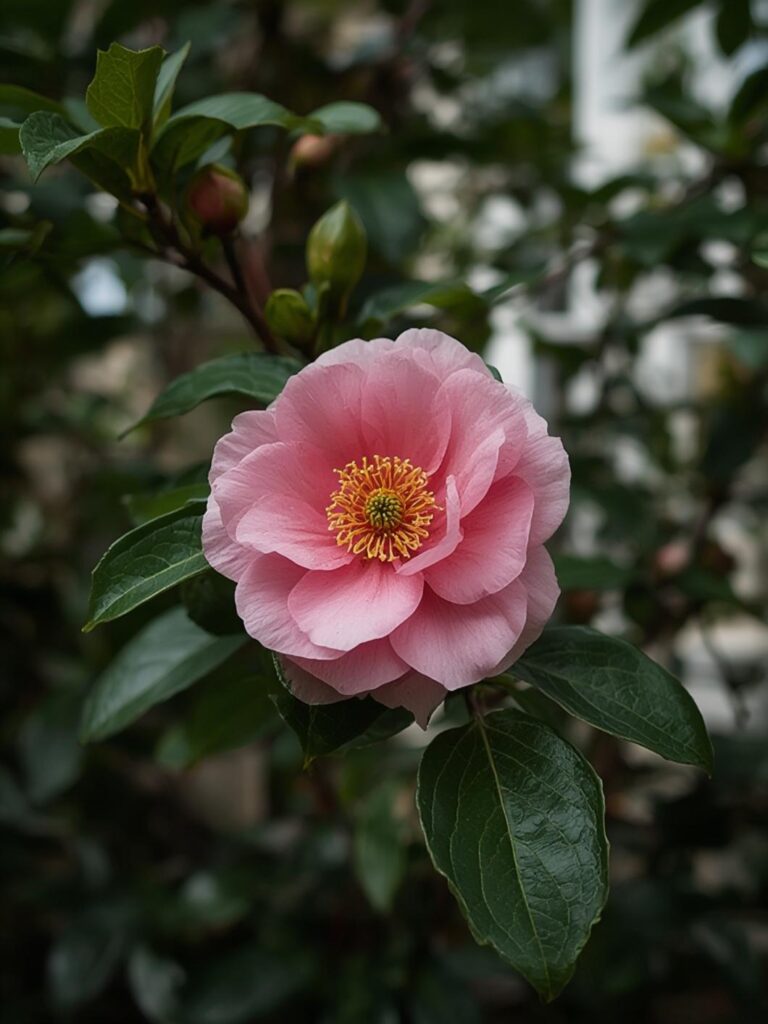
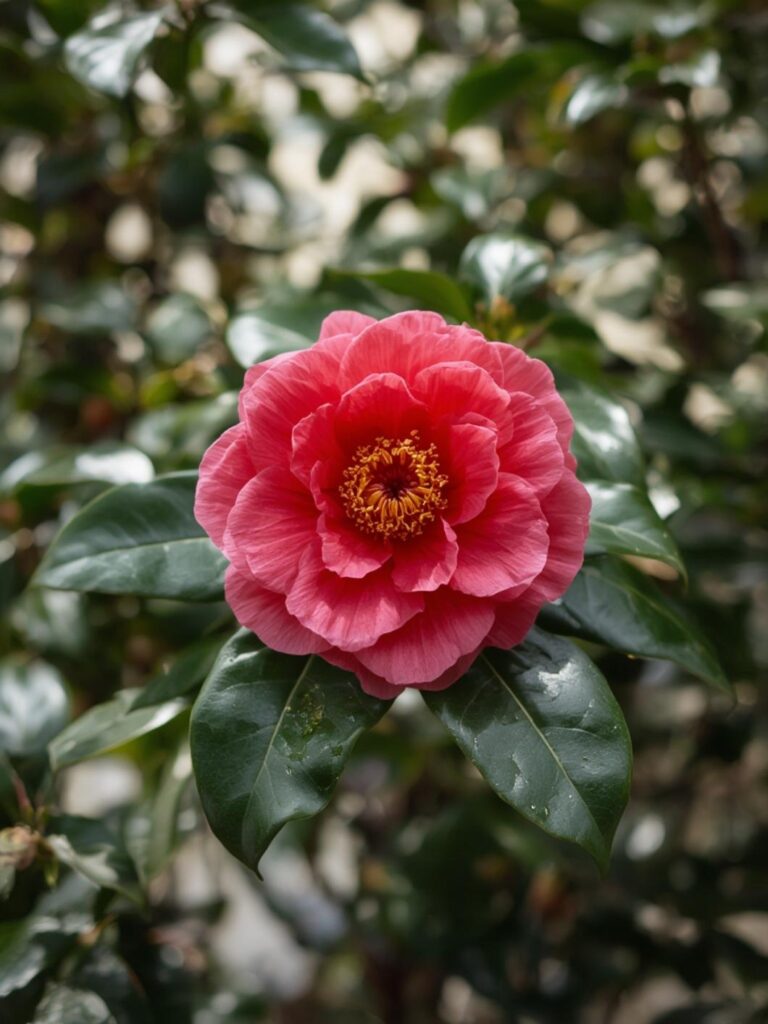
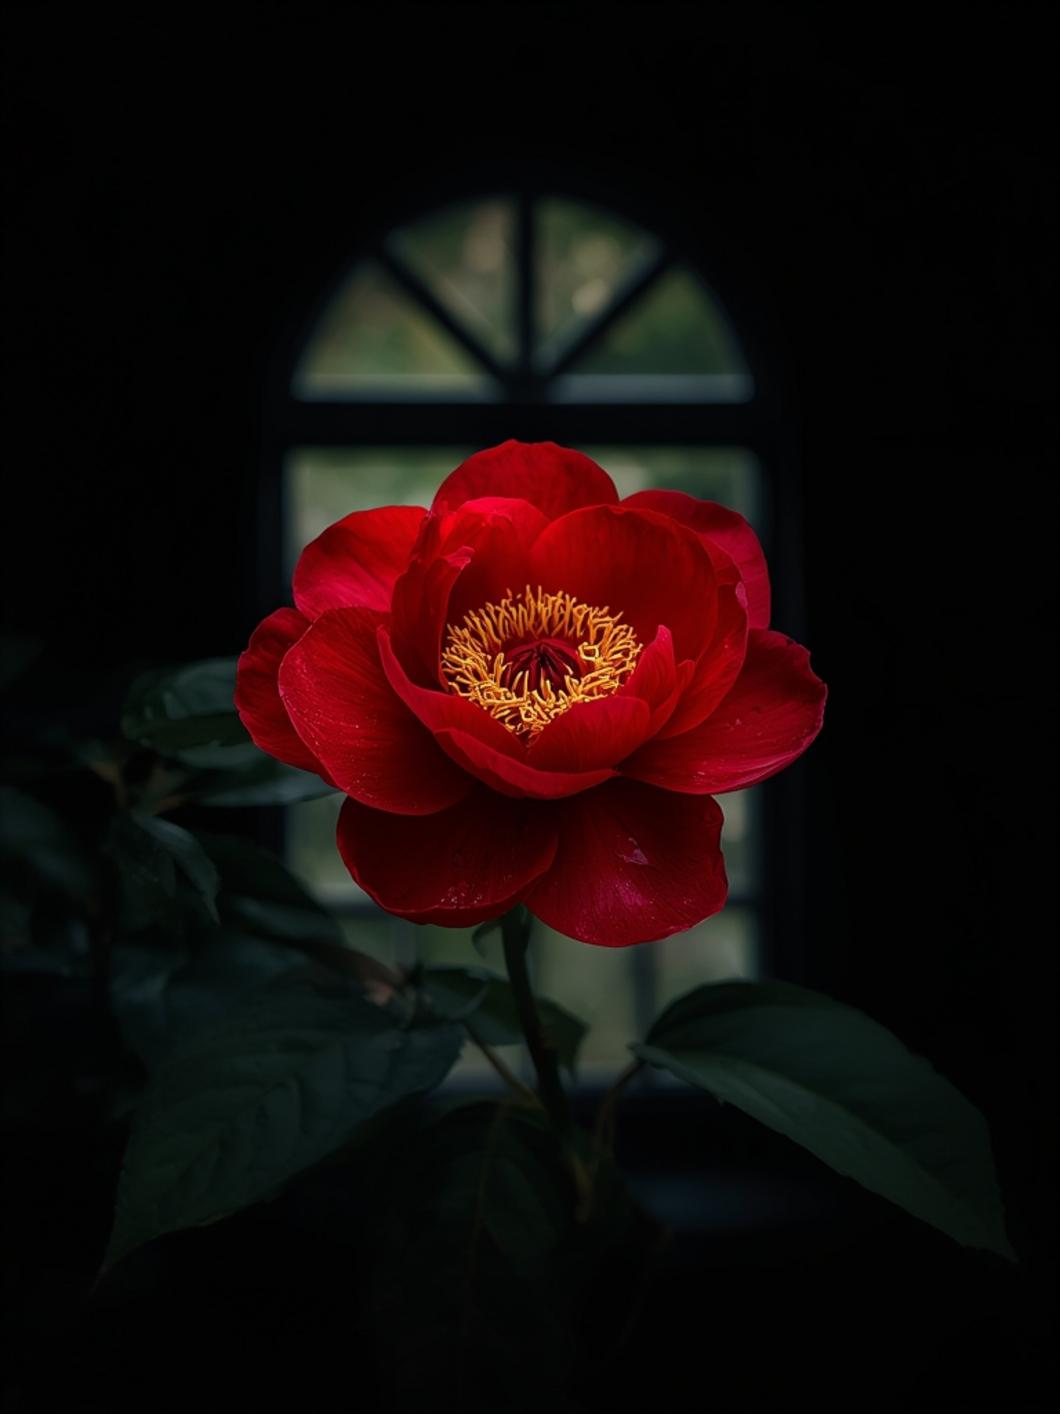
Have you ever admired the glossy, perfect petals of a red camellia in a botanical garden and wished you could grow one in your own space? With their rich symbolism and dramatic appearance, these flowering shrubs make an impressive addition to any garden. The red camellia flower is particularly cherished for its vibrant color and elegant form, making it a favorite among gardening enthusiasts. Growing these beautiful plants at home allows you to enjoy their spectacular blooms during winter and early spring when most other garden plants remain dormant.
Thank you for reading this post, don't forget to subscribe!Materials & Supplies
To successfully grow camellias at home, you’ll need:
– Camellia japonica seeds or young plants (preferably varieties with red blooms)
– Acidic potting soil (pH 5.5-6.5) or azalea/camellia-specific mix
– Large containers (16-20 inches) with drainage holes if planting in pots
– Slow-release acidic fertilizer formulated for camellias
– Gardening gloves and pruning shears
– Mulch (pine needles or bark work well)
– Watering can or irrigation system
– pH testing kit to monitor soil acidity
– Shade cloth (optional, for protecting young plants)
– Iron supplements (optional, to treat yellowing leaves)
Timing / Growing Schedule
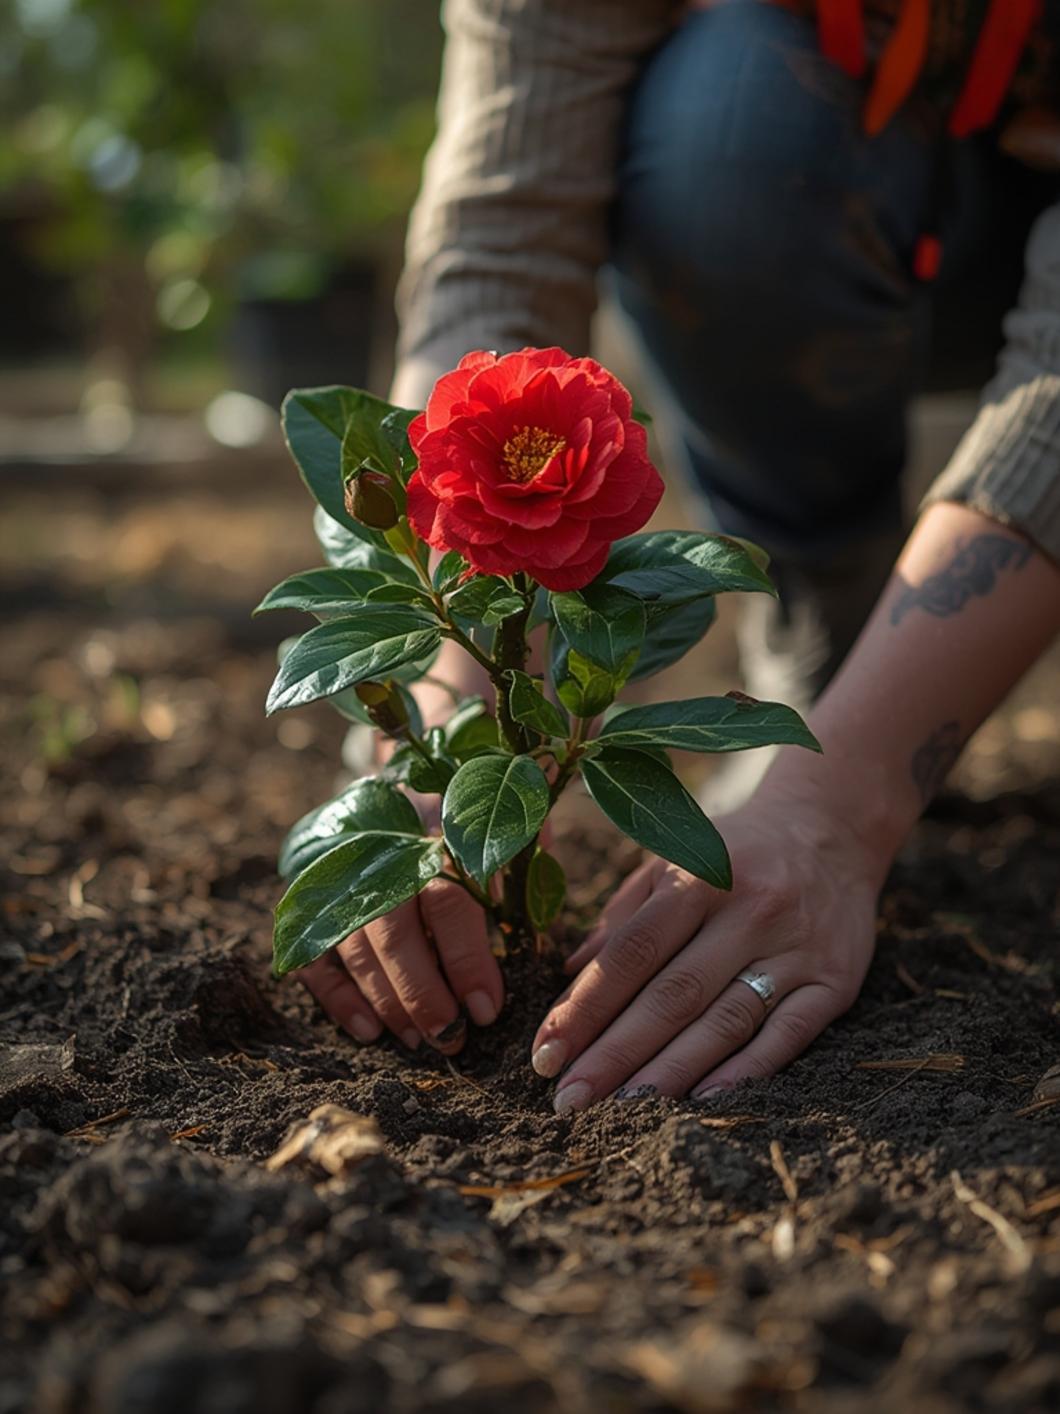
Camellias grow slowly but steadily, requiring patience and proper timing:
– Best planting time: Fall (September-November) or spring (March-April)
– Growth rate: Expect 6-12 inches of growth annually
– Bloom development: Buds form in late summer to early fall
– Flowering period: Typically November through April, depending on variety
– Maturity: 5-7 years for a young plant to reach full flowering potential
– Lifespan: Can live 50-150 years with proper care
Unlike fast-growing annuals, camellias represent a long-term garden investment that improves with age.
Step-by-Step Instructions
1. Select the perfect location: Choose a spot with filtered sunlight or morning sun with afternoon shade. The red camellia thrives in protected areas away from harsh winds and extreme temperature fluctuations.
2. Prepare the soil: Create a well-draining, acidic soil environment by mixing organic matter like pine bark or compost into your garden soil. Dig a hole twice as wide as the root ball but only as deep.
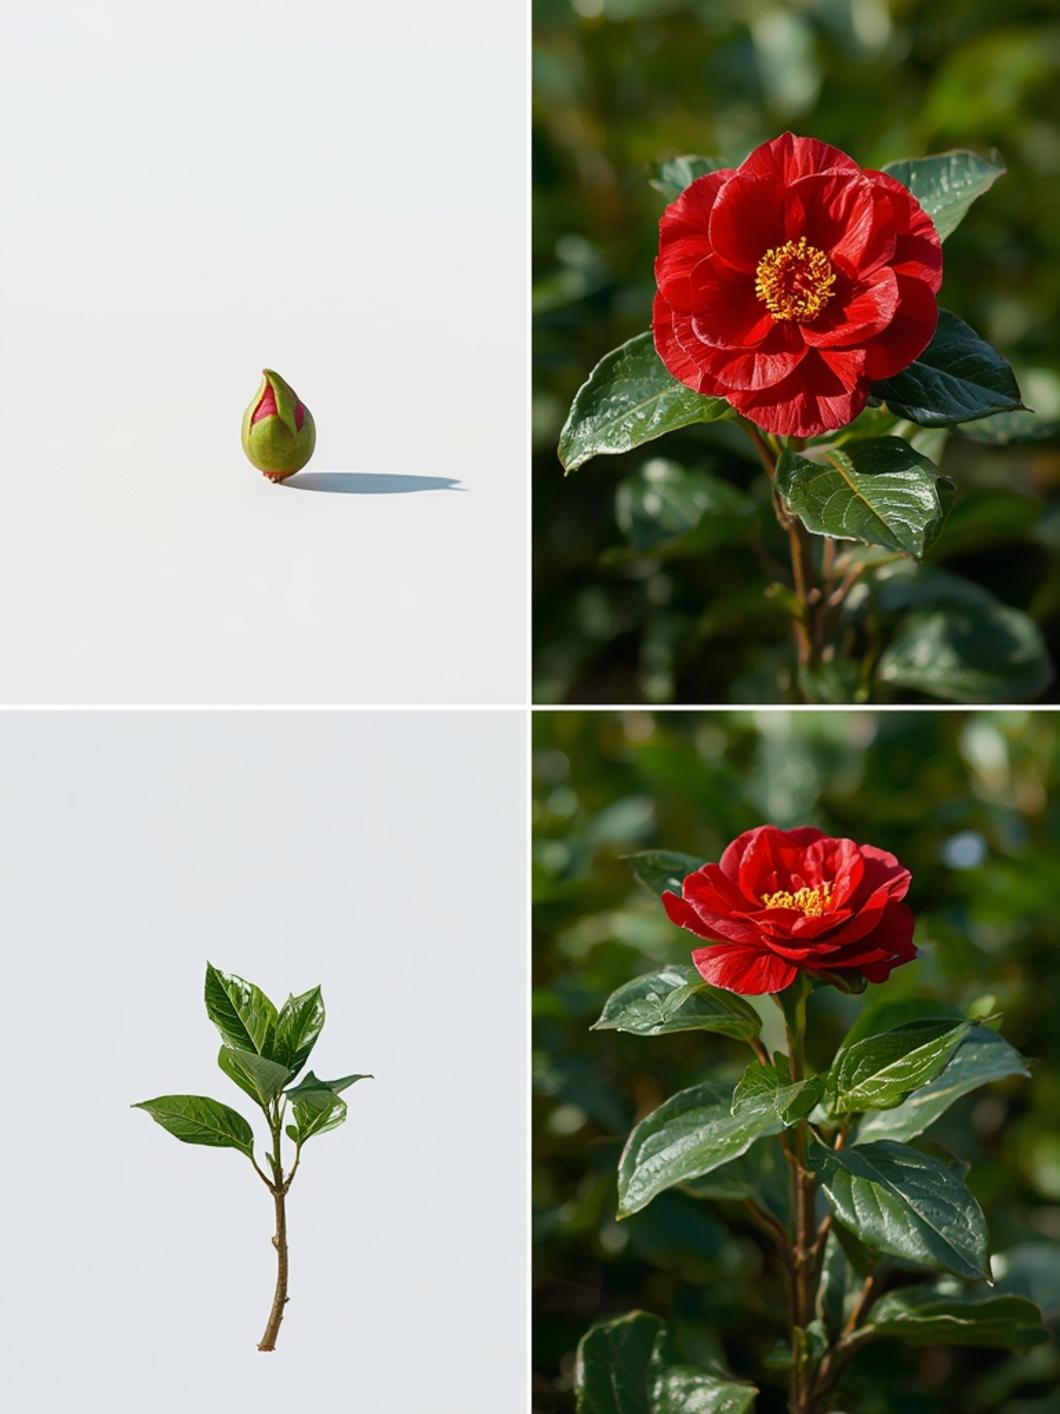
3. Plant properly: Position your camellia with the root ball slightly above soil level (1-2 inches). This prevents water from collecting around the trunk, which can cause rot.
4. Water thoroughly: Immediately after planting, water deeply and add 2-3 inches of mulch, keeping it a few inches away from the trunk to prevent moisture-related issues.
5. Establish a watering routine: Provide consistent moisture, especially during the first two years. Water deeply once weekly rather than frequent shallow waterings.
6. Fertilize appropriately: Apply a slow-release camellia fertilizer after flowering ends in spring, following package directions carefully to avoid over-fertilization.
7. Prune selectively: Trim after flowering but before new growth begins (typically late spring). Remove dead branches, thin crowded areas, and shape as desired.
Nutritional Benefits / Advantages
Camellia plants offer numerous benefits beyond their ornamental value:
– Camellia sinensis leaves are the source of various teas, rich in antioxidants
– Camellia oil extracted from seeds contains beneficial fatty acids and vitamins
– The plants improve air quality by filtering pollutants
– They provide winter habitat and early nectar for beneficial insects
– Evergreen foliage adds year-round structure and color to gardens
– Studies suggest compounds in camellias may have anti-inflammatory properties
Tips, Alternative Methods, or Gardening Advice
– Container growing: Choose a pot at least 16 inches in diameter with excellent drainage and use a high-quality camellia/azalea potting mix.
– Indoor cultivation: Place near east or north-facing windows and maintain humidity with pebble trays or humidifiers.
– Cold climate adjustments: Select cold-hardy varieties and provide winter protection with burlap screens or anti-desiccant sprays.
– Companion planting: Pair with azaleas, ferns, and hydrangeas that also prefer acidic soil conditions.
– Propagation techniques: Try air-layering or semi-hardwood cuttings in summer for creating new plants.
Common Mistakes to Avoid
1. Planting too deeply: This causes trunk rot and slow decline. Keep the top of the root ball slightly elevated.
2. Improper watering: Both overwatering and underwatering stress plants. Check soil moisture regularly and adjust accordingly.
3. Incorrect soil pH: Alkaline soils cause yellowing leaves and poor growth. Test soil regularly and amend as needed.
4. Wrong timing for pruning: Cutting branches in fall or winter removes flower buds. Always prune after flowering concludes.
5. Sudden location changes: Camellias dislike being moved once established. Choose your planting location carefully.
Storage / Maintenance Tips
– Watering: Provide deep, infrequent watering rather than frequent light sprinkles.
– Fertilizing: Apply acid-forming fertilizer after flowering ends, avoiding high-nitrogen formulas.
– Mulching: Refresh mulch annually, maintaining a 2-3 inch layer to retain moisture.
– Pest management: Monitor for scale insects, aphids, and spider mites; treat promptly with horticultural oil.
– Disease prevention: Ensure good air circulation to prevent fungal issues like petal blight.
– Winter care: Protect flower buds from freezing with breathable covers during extreme cold snaps.
Conclusion
Growing the red camellia flower at home rewards gardeners with spectacular winter blooms and glossy evergreen foliage that enhances any landscape. While they require some specific care considerations, the stunning results are well worth the effort. The satisfaction of nurturing a red camellia from a young plant to a mature flowering specimen creates a lasting connection to your garden space. Start your camellia journey today, and in a few years, you’ll have a magnificent flowering shrub that becomes more beautiful with each passing season.
FAQs
Why are the leaves on my camellia turning yellow?
Yellowing leaves often indicate iron chlorosis from alkaline soil. Apply an iron supplement and acidify the soil with sulfur or acidic fertilizers.
When is the best time to transplant a camellia?
Transplant in late winter or early spring before new growth begins. Prepare the new location first, move the plant with as much of the root ball as possible, and water thoroughly afterward.
Can camellias grow in full shade?
While camellias tolerate considerable shade, deep shade results in fewer flowers. Filtered light or morning sun with afternoon shade provides optimal conditions for abundant blooming.
How do I protect camellia buds from frost damage?
Cover plants with frost cloth or lightweight blankets when temperatures drop below 25°F (-4°C). Remove covers during daytime hours to avoid heat buildup.
Why does my camellia form buds that drop before opening?
Bud drop commonly results from drought stress, sudden temperature fluctuations, or improper fertilization. Maintain consistent moisture, protect from temperature extremes, and avoid late-season nitrogen fertilizers.