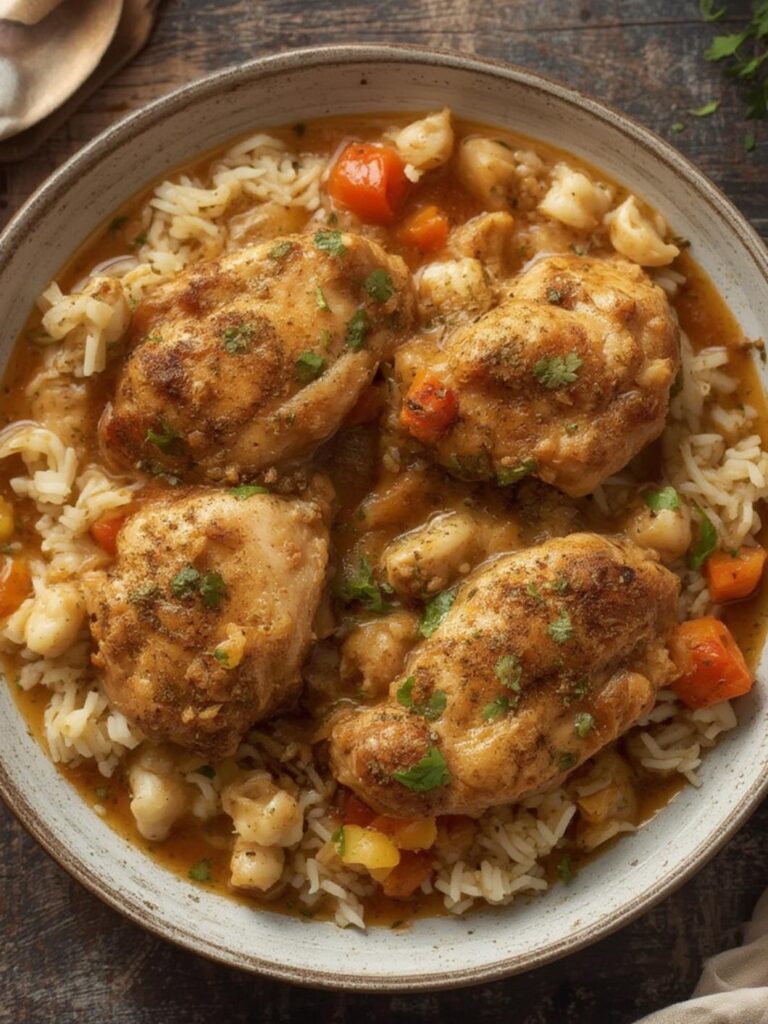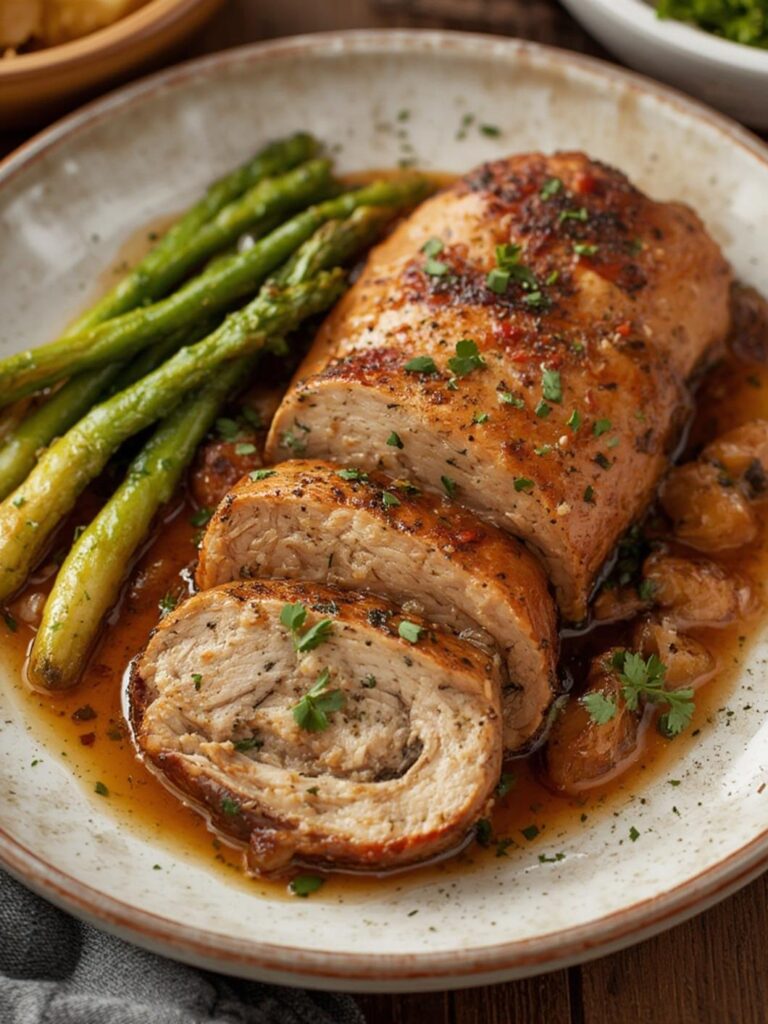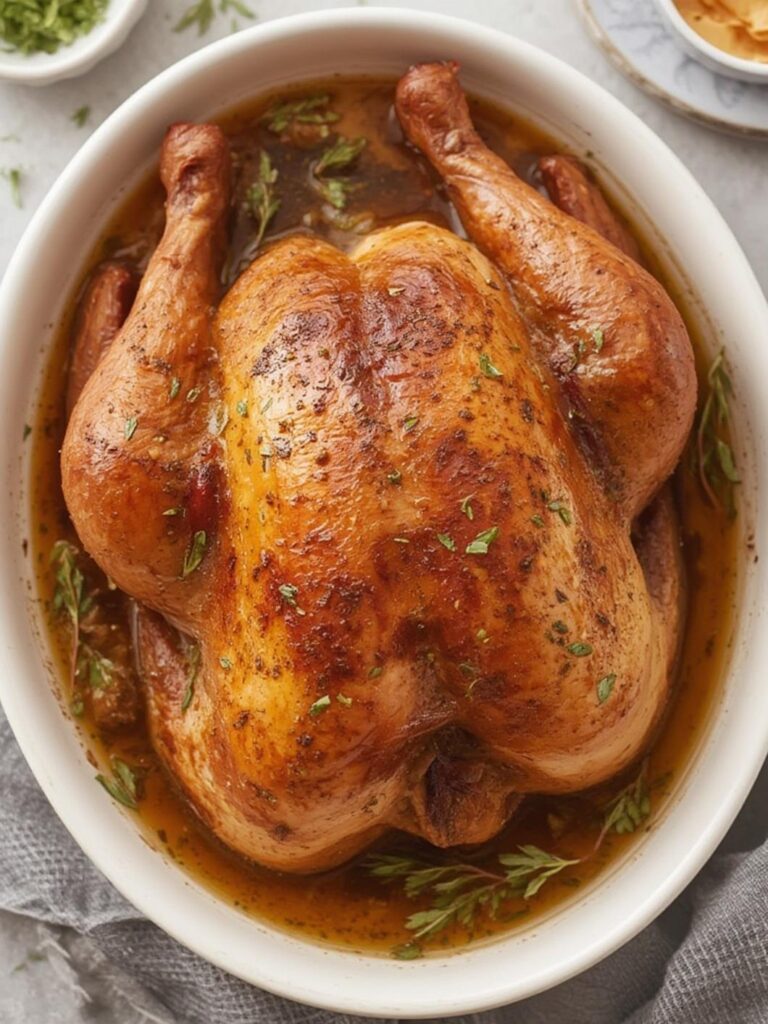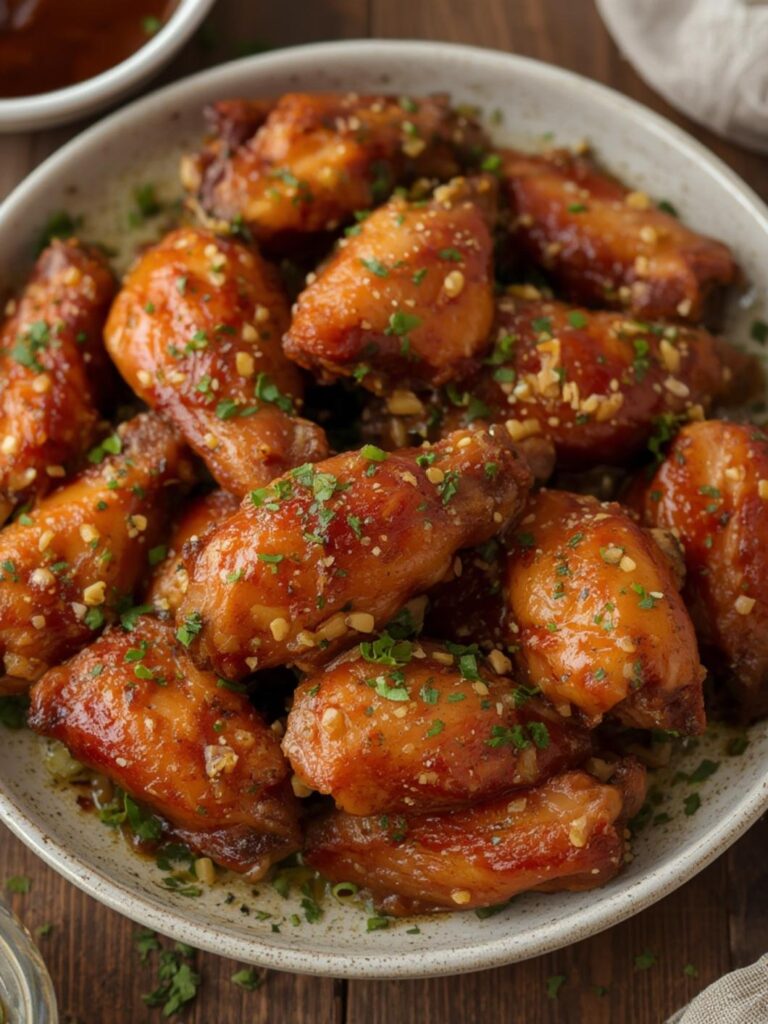
Quick Way to Make 30-Min Chicken Fried Chicken Recipe
Table of Contents
Southern-Style Chicken Comfort: The Ultimate Homemade Recipe
Introduction
There’s something incredibly satisfying about the perfect combination of tender chicken beneath a golden, crunchy coating. This homemade chicken fried chicken recipe brings restaurant-quality comfort food right to your family table without the hassle of dining out. Unlike regular fried chicken, this version features tenderized chicken breasts rather than bone-in pieces, creating a meal that’s both familiar and special. The double-dredging technique ensures you’ll achieve that ideal crispy fried chicken recipe coating that stays crunchy while protecting the juicy meat inside. Perfect for Sunday dinners or whenever you need a hearty, crowd-pleasing meal that delivers on both flavor and satisfaction.
Thank you for reading this post, don't forget to subscribe!Ingredients List
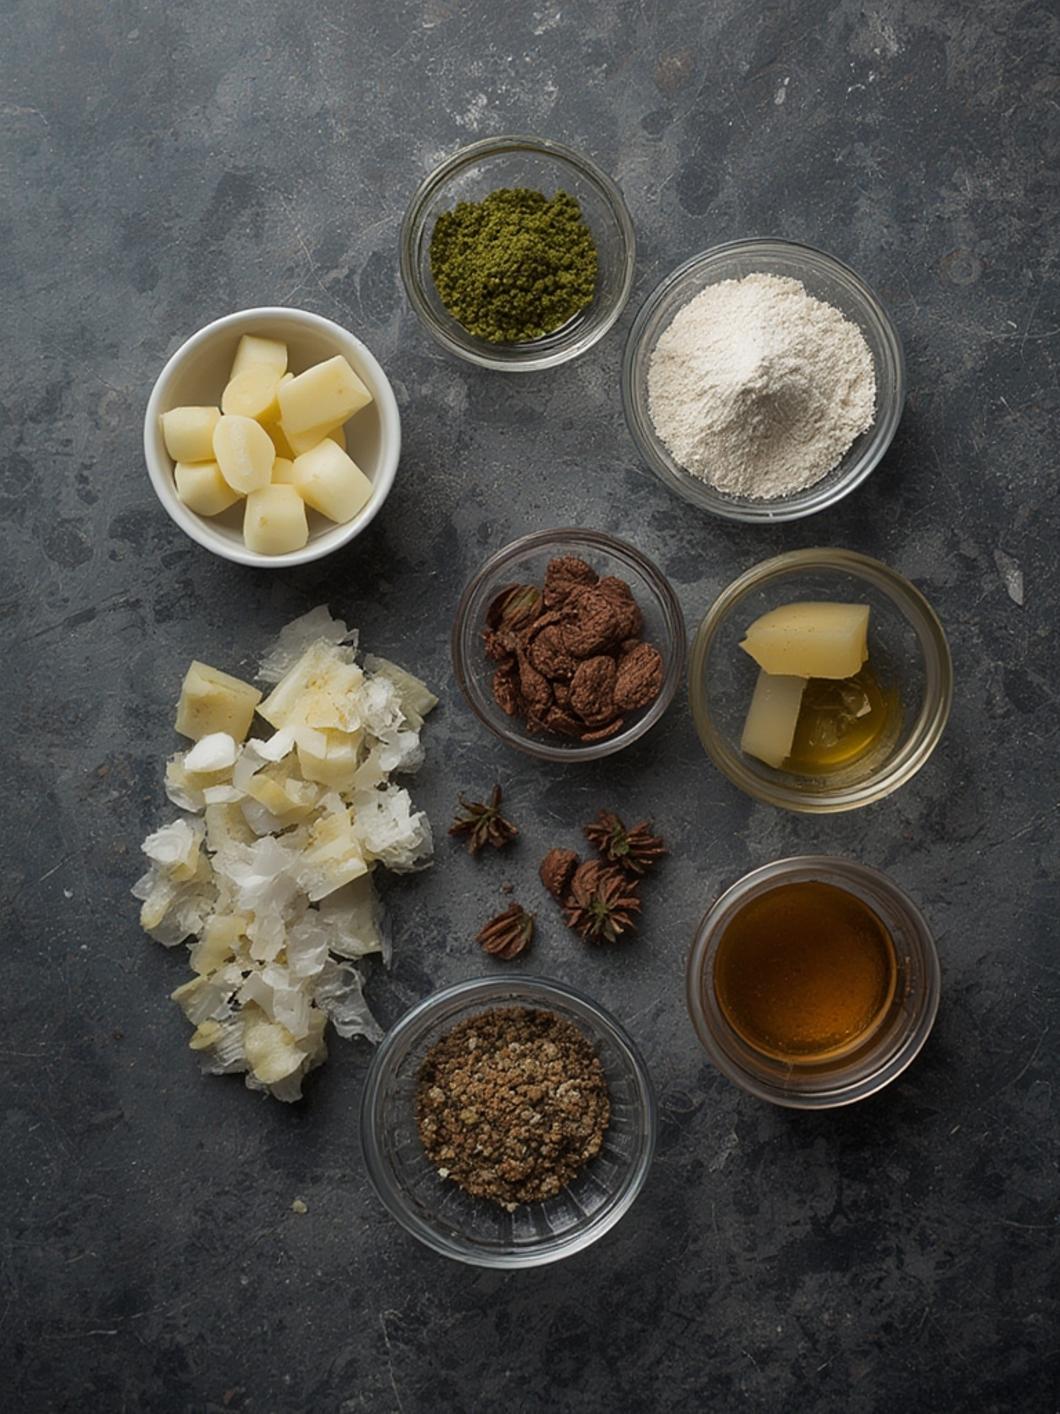
For the Chicken:
– 4 boneless, skinless chicken breasts (about 6-8 oz each)
– 2 cups buttermilk
– 1 tablespoon hot sauce (optional)
– 2 teaspoons kosher salt, divided
– 1 teaspoon black pepper, divided
For the Coating:
– 2 cups all-purpose flour
– 1 tablespoon garlic powder
– 1 tablespoon onion powder
– 2 teaspoons paprika
– 1 teaspoon dried thyme
– ½ teaspoon cayenne pepper (adjust to taste)
– 2 large eggs
– ¼ cup whole milk
– Vegetable oil for frying (about 3-4 cups)
For the Gravy (Optional):
– 3 tablespoons reserved frying oil
– 3 tablespoons all-purpose flour
– 2 cups whole milk or chicken broth
– ½ teaspoon black pepper
– Salt to taste
Step-by-Step Instructions
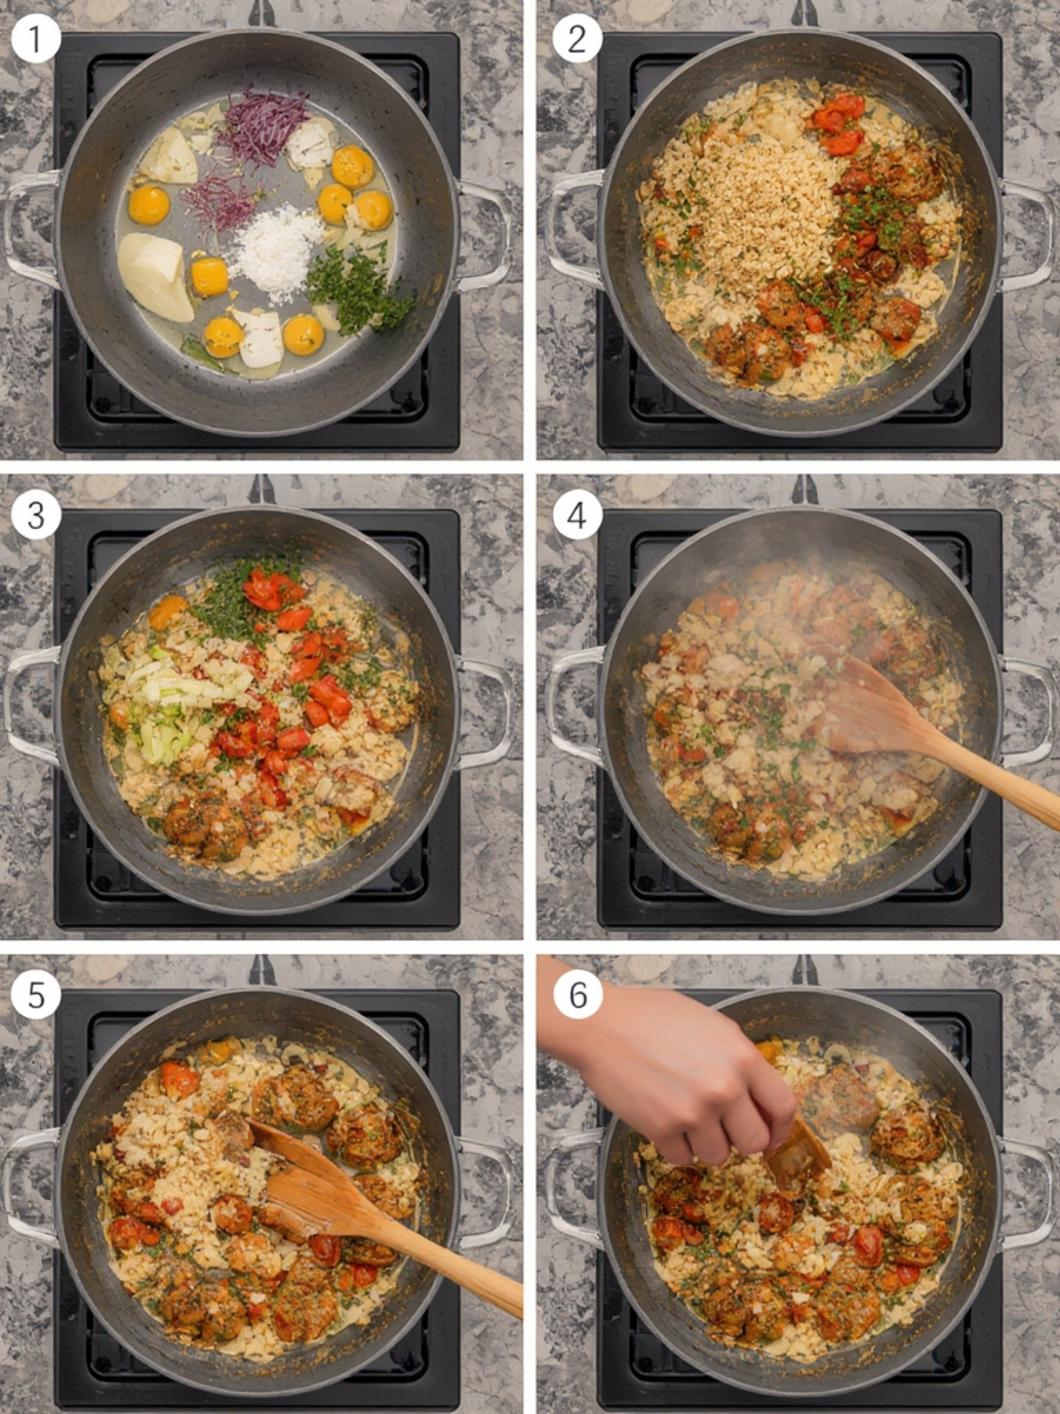
1. Prepare the chicken: Place each chicken breast between two sheets of plastic wrap and pound with a meat mallet to an even ½-inch thickness. This tenderizing step is crucial for a perfect chicken fried chicken recipe as it ensures even cooking.
2. Marinate: In a large bowl, combine buttermilk, hot sauce (if using), 1 teaspoon salt, and ½ teaspoon pepper. Add the pounded chicken breasts, ensuring they’re fully submerged. Cover and refrigerate for at least 4 hours or overnight for best results.
3. Prepare the dredging station: In a shallow dish, whisk together flour, garlic powder, onion powder, paprika, thyme, cayenne, remaining salt, and pepper. In another dish, beat the eggs with milk until well combined.
4. Heat the oil: In a large, heavy-bottomed skillet or Dutch oven, add oil to a depth of about ½ inch (about 3-4 cups depending on your pan size). Heat over medium-high heat until the oil reaches 350°F. If you don’t have a thermometer, test by dropping a pinch of flour into the oil – it should sizzle immediately.
5. Coat the chicken: Remove a piece of chicken from the buttermilk, allowing excess to drip off. Dredge in the flour mixture, then dip in the egg mixture, and finally back into the flour mixture, pressing firmly to adhere the coating. The double-dredge technique creates that perfectly crispy fried chicken recipe exterior that everyone loves.
6. Fry to perfection: Carefully place the coated chicken into the hot oil, being careful not to overcrowd the pan (work in batches if necessary). Fry for 4-5 minutes per side until golden brown and the internal temperature reaches 165°F.
7. Drain and rest: Transfer the cooked chicken to a wire rack set over a baking sheet. This keeps the coating crisp while excess oil drains away. Let rest for 5 minutes before serving.
8. Make gravy (optional): Pour off all but 3 tablespoons of the frying oil, keeping the flavorful browned bits in the pan. Add flour to the oil and whisk constantly over medium heat for 2-3 minutes until light golden. Gradually whisk in milk or broth and continue cooking until thickened, about 3-5 minutes. Season with salt and pepper to taste.
Preparation & Cooking Time
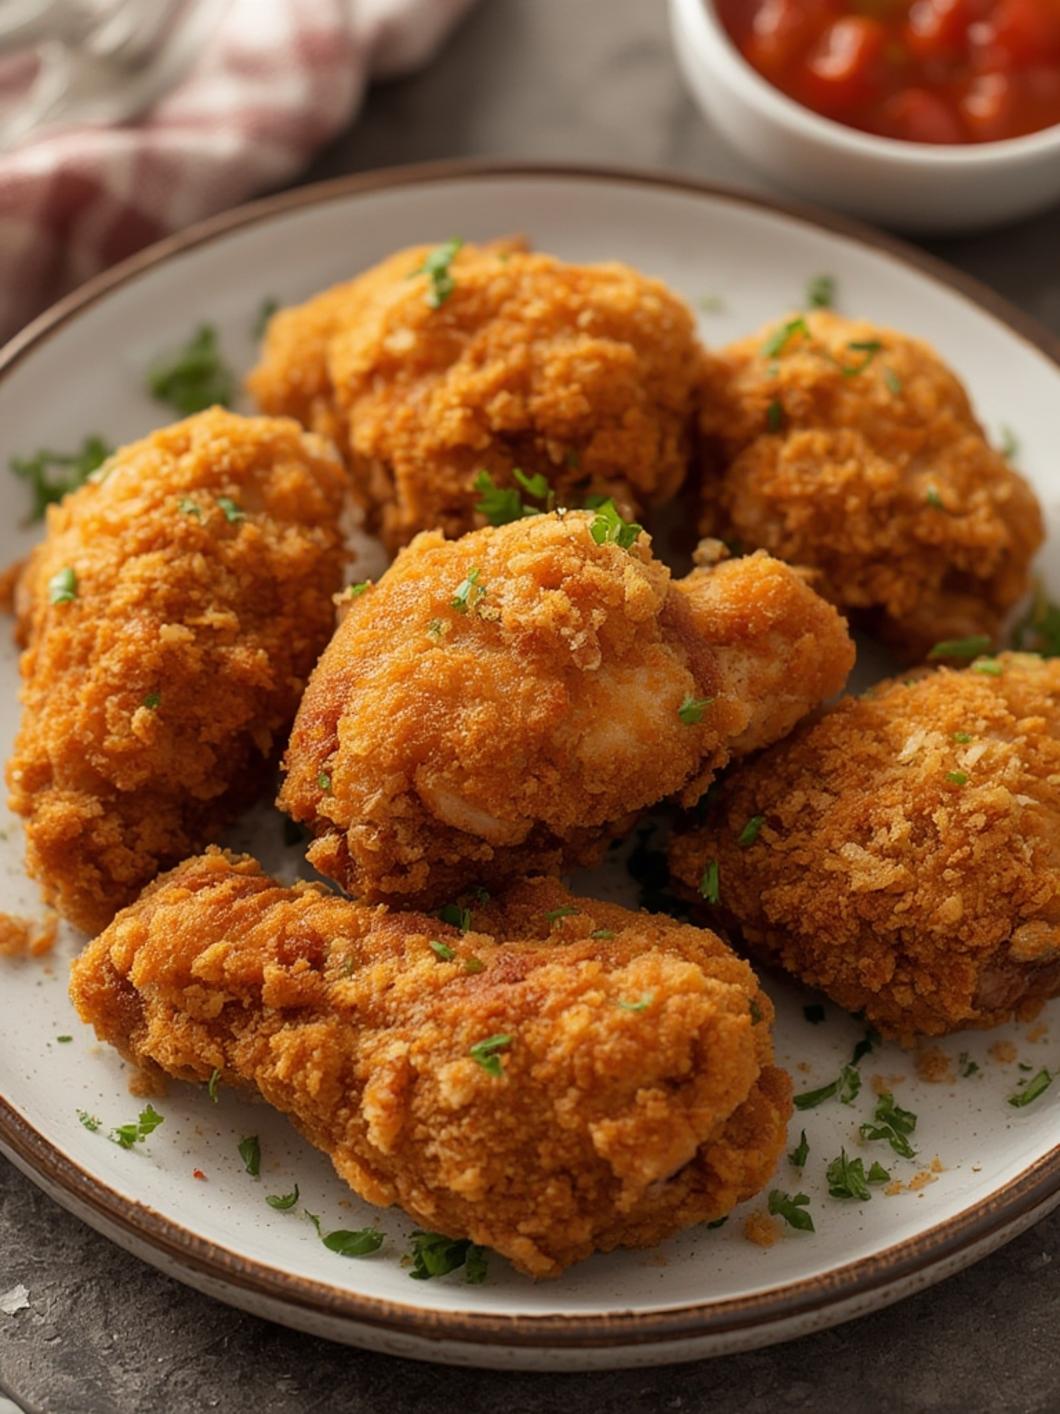
– Prep Time: 20 minutes (plus 4 hours to overnight for marinating)
– Cooking Time: 20-25 minutes
– Total Time: 40-45 minutes (not including marinating time)
– Servings: 4
Tips & Variations
Flavor Enhancement Tips:
– Add a teaspoon of smoked paprika to the flour mixture for a subtle smokiness
– Mix ½ teaspoon of MSG into the flour coating for an extra umami boost
– Try adding 1 tablespoon of ranch seasoning mix to the flour for a tangy twist
Ingredient Substitutions:
– No buttermilk? Use 2 cups of regular milk mixed with 2 tablespoons of lemon juice or vinegar
– Chicken tenders can replace chicken breasts for a smaller portion size
– Gluten-free flour mix can substitute all-purpose flour for those with sensitivities
Dietary Adaptations:
– For a dairy-free version, replace buttermilk with coconut milk mixed with 1 tablespoon vinegar
– Reduce sodium by cutting salt in half in all components
– Use a keto-friendly flour alternative like almond flour for a lower-carb option
Alternative Cooking Methods:
– Air fryer: Cook at 375°F for 12-15 minutes, flipping halfway through
– Oven-baked: Place on a wire rack over a baking sheet at 425°F for 20-25 minutes
– Shallow fry: Use less oil (about ¼ inch depth) and turn more frequently
Common Mistakes to Avoid
1. Oil temperature issues: If your oil is too cool, the chicken will absorb excess oil and become greasy. If too hot, the coating burns before the chicken cooks through. Maintain 350°F for best results.
2. Skipping the resting period: Cutting into the chicken immediately after frying releases all the juices. Always let it rest 5 minutes.
3. Overcrowding the pan: This drops the oil temperature and prevents proper crisping. Fry in batches with plenty of space between pieces.
4. Not seasoning adequately: Season each component (chicken, flour, and egg wash) for layers of flavor.
5. Discarding the browned bits: These flavor particles are essential for making flavorful gravy. Keep them in the pan.
Storage & Reheating Tips
Refrigerator Storage:
– Store leftovers in an airtight container for up to 3 days
– Place paper towels between chicken pieces to absorb excess moisture
Freezer Storage:
– Freeze cooked chicken in a single layer until solid, then transfer to a freezer bag
– Store for up to 2 months
– Label with date and contents
Reheating Methods:
– Oven: Preheat to 400°F, place chicken on a wire rack, and heat for 15-20 minutes
– Air fryer: 375°F for 5-7 minutes for the crispiest results
– Microwave: Use 50% power with a damp paper towel cover to prevent toughening (but coating will soften)
Conclusion
This homemade chicken fried chicken recipe transforms ordinary chicken breasts into an extraordinary comfort food experience that rivals any restaurant version. The combination of tender, juicy meat encased in that perfectly seasoned, crispy fried chicken recipe coating makes this dish worth the effort every time. Whether served with creamy mashed potatoes, classic coleslaw, or fresh buttermilk biscuits, this Southern classic is guaranteed to become a family favorite that everyone will request again and again. Try it this weekend and discover why homemade is always better than takeout!
FAQs
Q: Can I use chicken thighs instead of breasts?
A: Absolutely! Boneless, skinless chicken thighs work wonderfully and often stay juicier. You may need to adjust cooking time slightly as thighs may take a minute or two longer to reach 165°F.
Q: How can I tell when the oil is the right temperature without a thermometer?
A: Drop a small cube of bread into the oil. If it browns in about 60 seconds, the oil is approximately 350°F. If it browns too quickly, your oil is too hot.
Q: My coating keeps falling off during frying. What am I doing wrong?
A: Make sure to thoroughly dry the chicken after marinating, press the coating firmly onto the chicken, and let the coated pieces rest for 5 minutes before frying to help the coating adhere better.
Q: Can I make this recipe without eggs?
A: Yes, you can replace the egg mixture with 2-3 tablespoons of mayo mixed with 2 tablespoons of