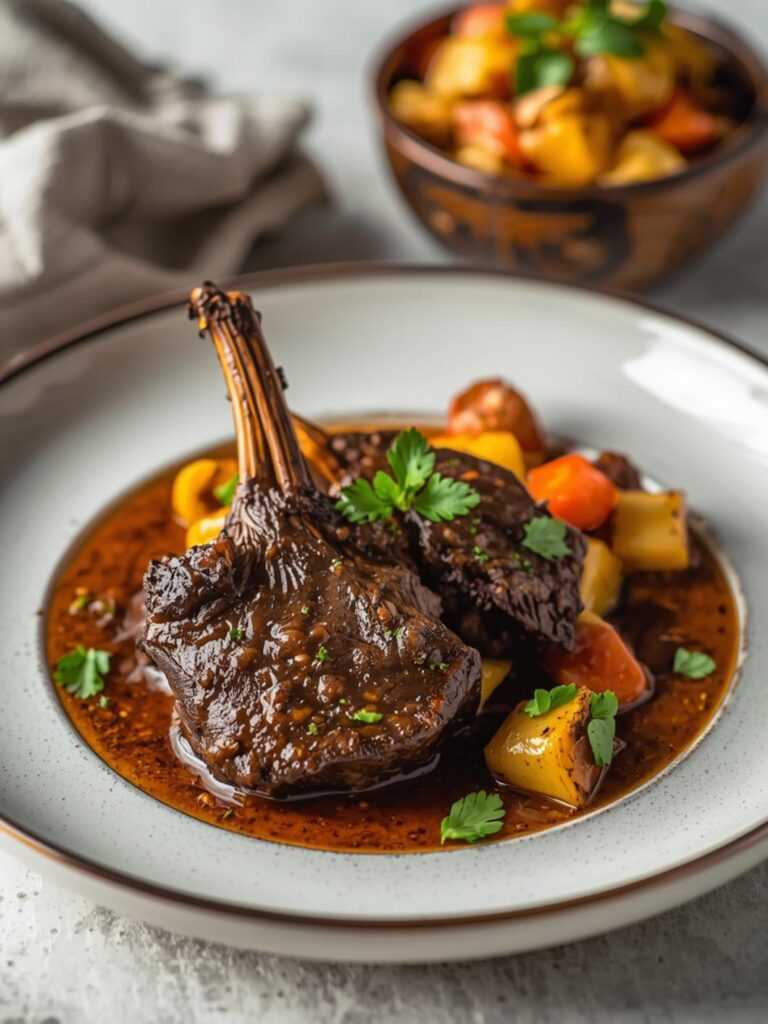
Best way to make 5 perfect oven steak
Table of Contents
Perfect Oven-to-Table Steaks: A Foolproof Method
Creating restaurant-quality steak at home doesn’t require expensive equipment or professional training. With the right technique, your home kitchen can produce juicy, tender cuts of beef that rival those of high-end steakhouses. The beauty of preparing oven steak lies in its consistency and forgiving nature, especially when compared to other cooking methods.
Thank you for reading this post, don't forget to subscribe!While many home chefs worry about achieving the perfect doneness, combining the searing power of a hot skillet with the gentle, controlled heat of your oven delivers exceptional results every time. This method works particularly well for thicker cuts, where a broiled steak might cook unevenly. Let’s explore this foolproof technique that will elevate your home dining experience.
Ingredients List
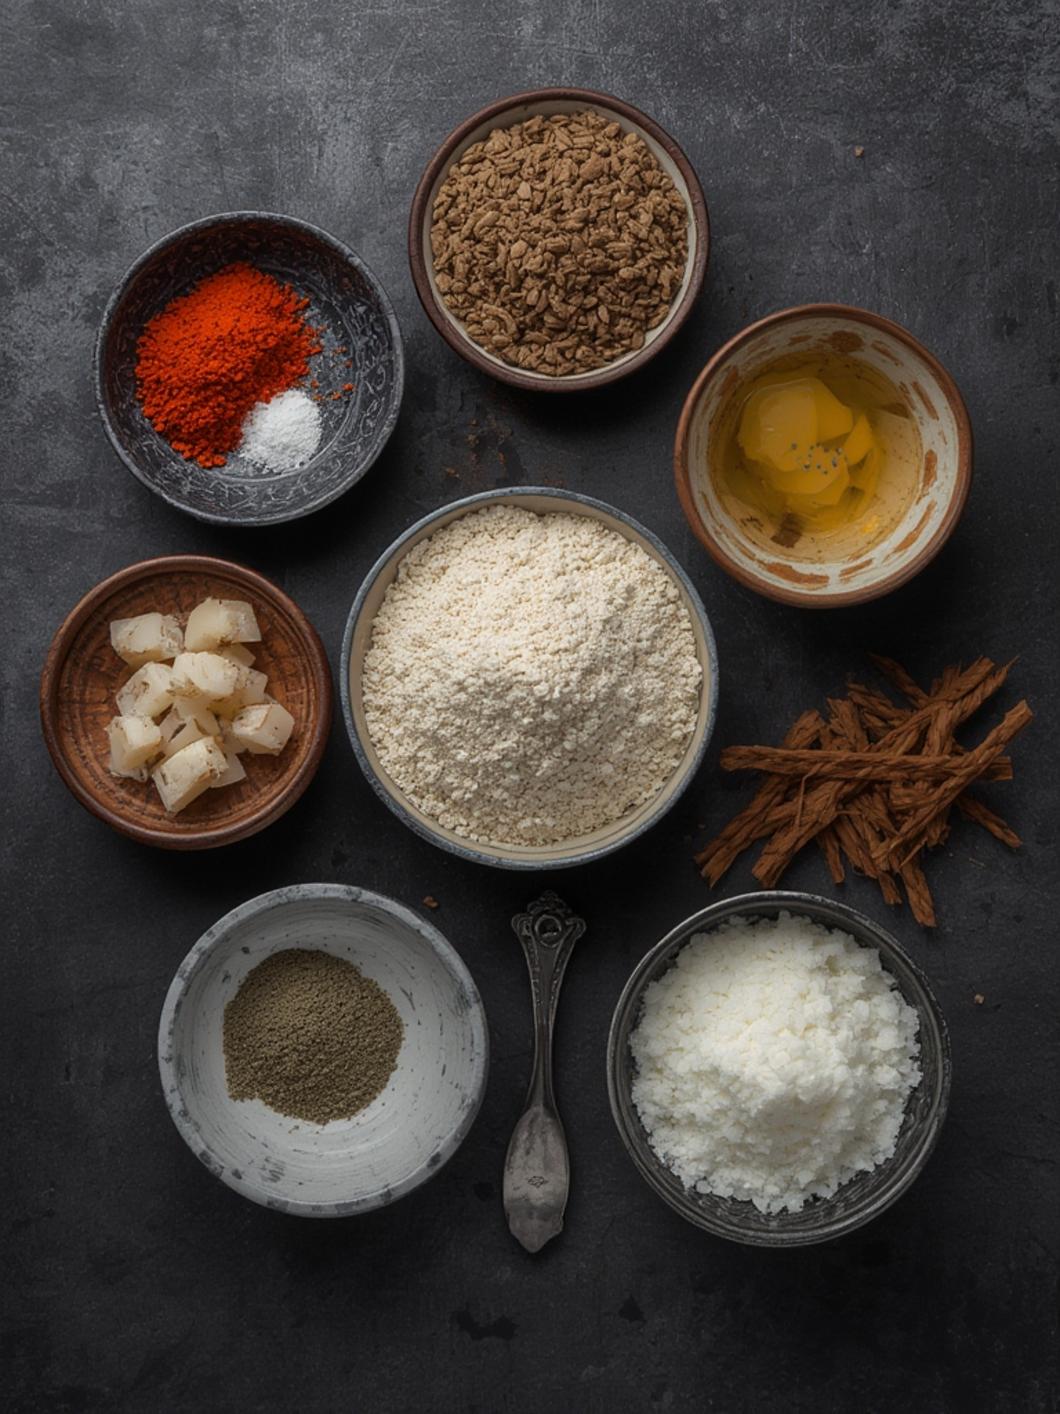
– 2 ribeye or New York strip steaks (1½ inches thick, approximately 12-16 oz each)
– 2 tablespoons high-heat cooking oil (avocado, grapeseed, or canola)
– 2 tablespoons unsalted butter
– 4 garlic cloves, lightly crushed but still whole
– 2-3 sprigs fresh rosemary or thyme
– 1½ tablespoons kosher salt
– 1 tablespoon freshly ground black pepper
– ½ teaspoon garlic powder (optional)
– ½ teaspoon onion powder (optional)
Step-by-Step Instructions
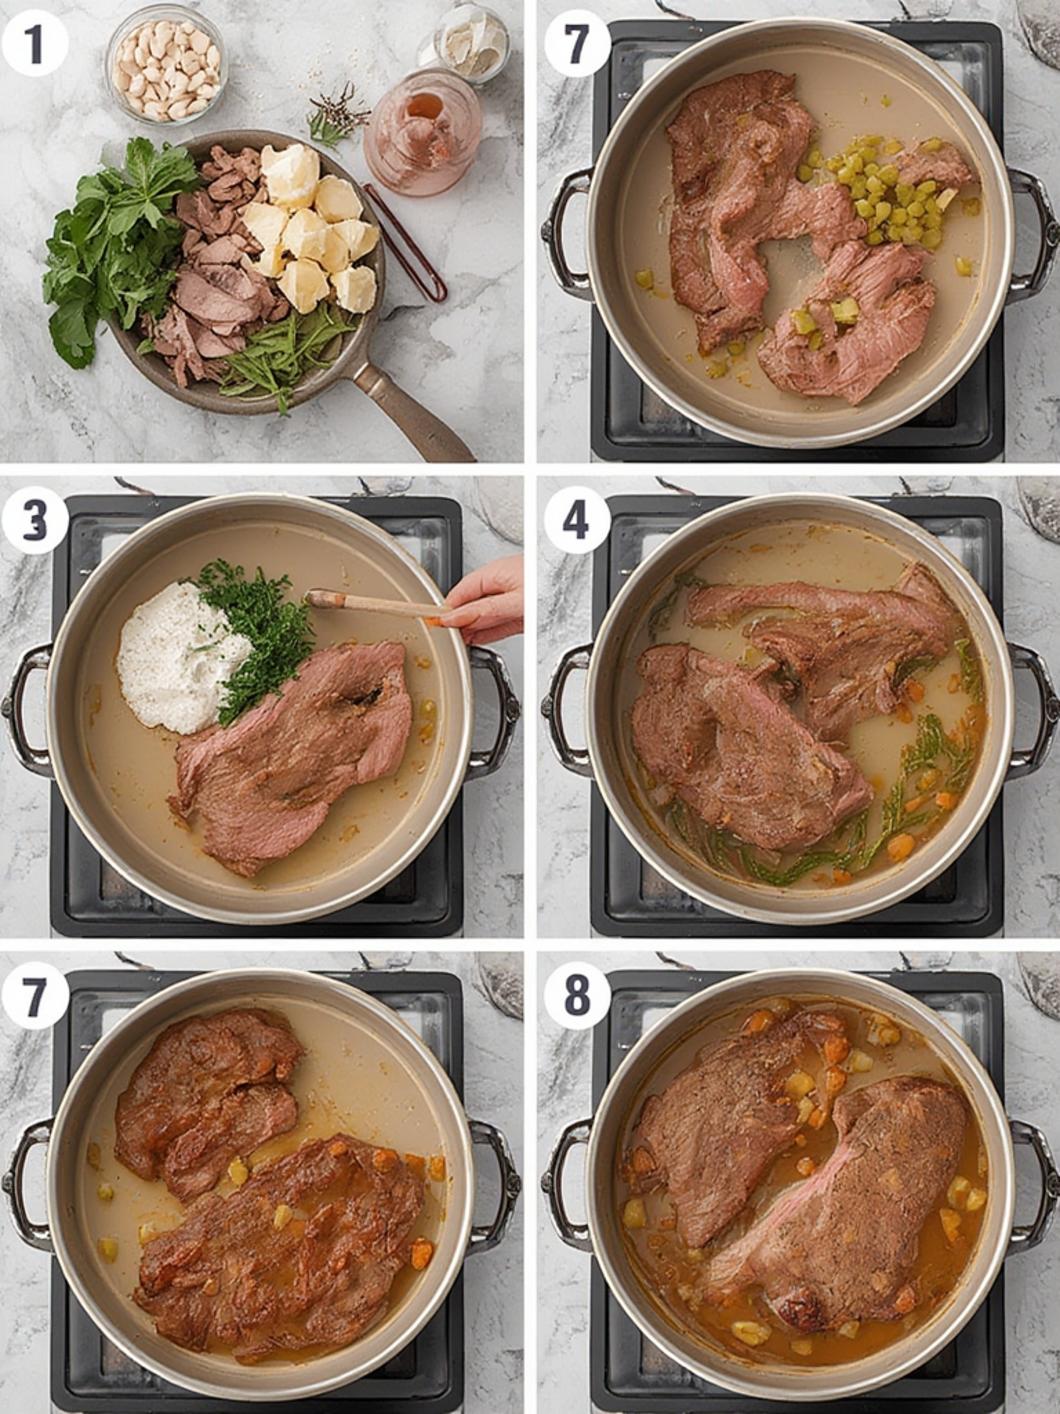
1. Remove steaks from the refrigerator 45-60 minutes before cooking to allow them to come to room temperature. This ensures even cooking.
2. Preheat your oven to 400°F (205°C). Place a cast iron skillet in the oven to warm up while you prepare the steaks.
3. Pat the steaks completely dry with paper towels. Moisture is the enemy of a good sear.
4. Season generously on all sides with salt, pepper, and optional garlic and onion powders. Press the seasonings into the meat to help them adhere.
5. Remove the hot skillet from the oven carefully (use oven mitts!) and place it on a stovetop burner set to high heat. Add the cooking oil to the skillet.
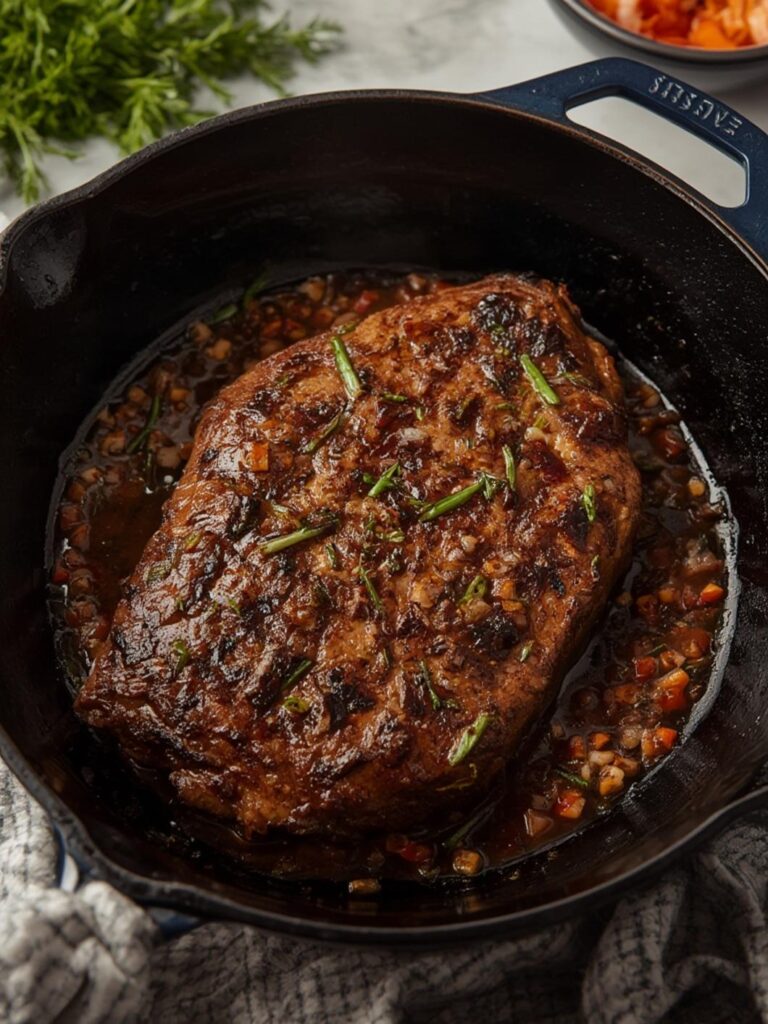
6. Once the oil is shimmering but not smoking, add the steaks to the pan. Sear for 2-3 minutes on each side until a deep brown crust forms.
7. Add butter, garlic cloves, and herb sprigs to the pan. As the butter melts, tilt the pan slightly and use a spoon to baste the steaks with the flavorful butter mixture for about 1 minute.
8. Transfer the entire skillet with the steaks to the preheated oven. The combination of oven steak finishing after pan searing creates more even results than a strictly broiled steak approach.
9. Cook in the oven until desired doneness is reached: approximately 4-5 minutes for medium-rare (internal temperature of 130-135°F) or 5-7 minutes for medium (internal temperature of 140-145°F).
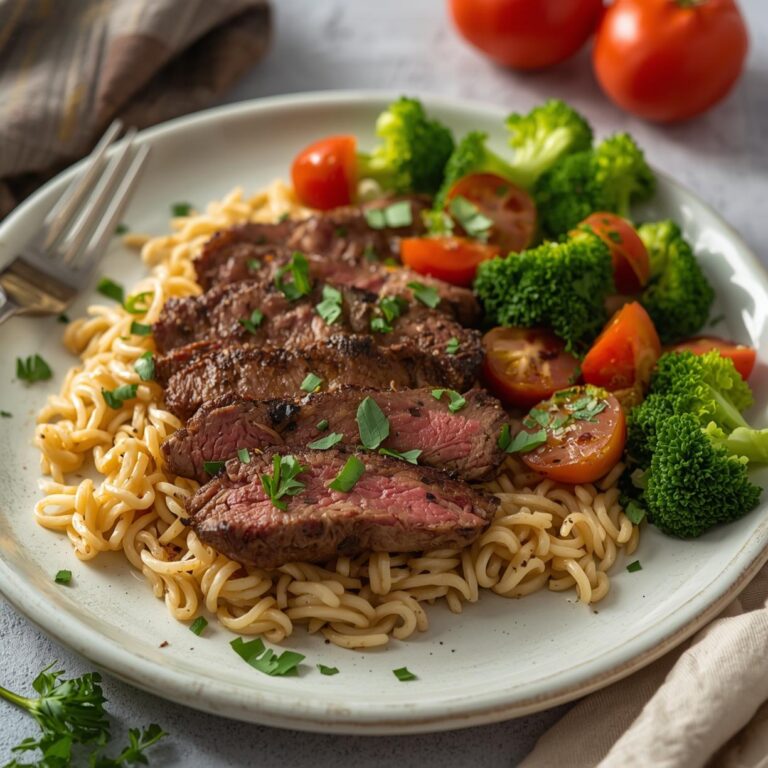
10. Remove from the oven and transfer steaks to a cutting board. Tent loosely with foil and rest for 5-10 minutes before slicing. This allows the juices to redistribute throughout the meat.
Preparation & Cooking Time
– Preparation time: 5 minutes (plus 45-60 minutes to bring steaks to room temperature)
– Cooking time: 10-15 minutes
– Resting time: 5-10 minutes
– Total time: 65-90 minutes
– Servings: 2-3 people (depending on appetite)
Tips & Variations
Cut Selection
– Ribeye: Most flavorful due to generous marbling
– New York strip: Great balance of flavor and texture
– Filet mignon: Tenderest option, may need shorter cooking time
– T-bone/Porterhouse: Impressive presentation, but may cook less evenly
Seasoning Alternatives
– Montreal steak seasoning for a more complex flavor profile
– Coffee rub (ground coffee, brown sugar, smoked paprika, salt, and pepper)
– Chimichurri butter instead of herb sprigs for a South American twist
– Soy sauce and ginger marinade for an Asian-inspired variation
Dietary Adaptations
– Low-carb/keto: This recipe is naturally suitable
– Lower sodium: Reduce salt and add more herbs and spices
– Dairy-free: Substitute butter with extra virgin olive oil for basting (add after searing)
Alternative Cooking Methods
– Reverse sear: Start in a 275°F oven until internal temperature reaches 90-95°F, then sear in a hot skillet
– Sous vide: Cook in a water bath at desired doneness temperature, then finish with a quick sear
– Grill: Sear on high heat, then move to indirect heat to finish
Common Mistakes to Avoid
1. Not letting the steak reach room temperature: Cold meat cooks unevenly, often resulting in an overcooked exterior and undercooked interior.
2. Skipping the drying step: Wet surfaces create steam, preventing proper searing and browning.
3. Overcrowding the pan: Give steaks plenty of space or they’ll steam rather than sear.
4. Constantly flipping or moving the steak: Let it develop a crust by leaving it undisturbed during searing.
5. Cutting into the steak immediately after cooking: This releases all the juices, resulting in a drier steak.
6. Under-seasoning: Thick cuts need generous seasoning. The interior will remain less seasoned, creating balance.
Storage & Reheating Tips
Refrigerator Storage
– Store leftover steak in an airtight container for up to 3 days.
– Wrap tightly in plastic wrap before placing in a container for best results.
Freezer Storage
– Wrap cooled steak tightly in plastic wrap, then aluminum foil.
– Place in a freezer bag with air removed.
– Freeze for up to 2-3 months.
– Thaw overnight in the refrigerator before reheating.
Best Reheating Methods
– Oven method: Wrap in foil with a tablespoon of beef broth or water, heat at 250°F until warmed through (about 20 minutes).
– Sous vide: Reheat sealed steak in 130°F water for 30 minutes.
– Skillet: Slice thinly and quickly warm in a skillet with butter over medium-low heat.
– Avoid microwaving as it toughens the meat and creates uneven heating.
Conclusion
Mastering the art of cooking steak at home opens up a world of culinary possibilities while saving you the expense of restaurant dining. The combination of stovetop searing and oven finishing creates the perfect balance of exterior crust and interior tenderness. While a broiled steak certainly has its place in cooking, this pan-to-oven steak method gives you more control over the final result, especially with thicker premium cuts.
Remember that practice makes perfect—don’t be discouraged if your first attempt isn’t steakhouse quality. Take note of what worked and what didn’t, adjust your technique, and soon you’ll be serving steaks that would make any chef proud.
FAQs
Can I use frozen steaks with this method?
While it’s possible, frozen steaks won’t develop the same quality crust and may cook less evenly. It’s best to thaw steaks completely in the refrigerator overnight before cooking.
How can I tell when my steak is done without a thermometer?
Use the finger test: Press the center of the steak with your finger and compare the firmness to the fleshy part at the base of your thumb. When touching your thumb to your index finger, that firmness equals rare. Middle finger equals medium-rare, ring finger equals medium, and pinky equals well-done.
Why did my steak smoke so much during searing?
Excessive smoke usually results from oil with a low smoke point or residue in the pan. Use high smoke-point oils like avocado or grapeseed, and ensure your pan is clean before starting.
Can I use this method with thinner steaks?
For steaks less than 1-inch thick, reduce or eliminate the oven time as they may overcook quickly. Rely more on stovetop cooking with careful monitoring.
Is it necessary to rest the steak after cooking?
Absolutely. Resting allows juices to redistribute throughout the meat. Skipping this step will result in juices running out when you cut into the steak, leaving you with a drier eating experience.